
Installing a vapor barrier on a concrete floor is a proven way to protect flooring materials and prevent moisture-related damage. Whether for residential, commercial, or industrial applications, the correct installation of a vapor barrier safeguards flooring materials and improves indoor air quality.
By following the right steps and using high-performance materials, builders can prevent costly repairs and maintain the integrity of their structures.
What Is a Vapor Barrier and Why Does It Matter?
Concrete retains moisture, which can migrate upward and damage flooring materials. Without proper moisture control, excess humidity may lead to mold growth and flooring deterioration.
While vapor barriers and moisture barriers are sometimes confused, they serve different functions. A vapor barrier blocks water vapor, preventing condensation and flooring damage, while a moisture barrier stops liquid water but may still allow vapor transmission. For concrete floors, a vapor barrier is the better choice to prevent moisture-related issues.
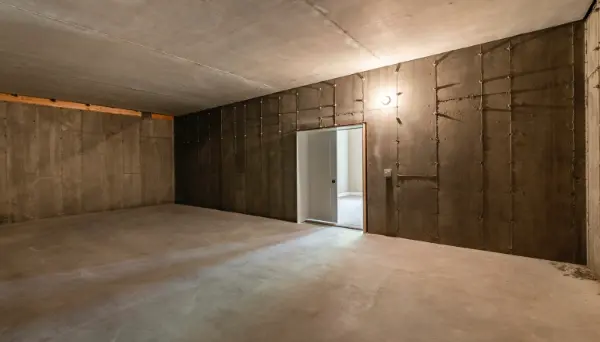
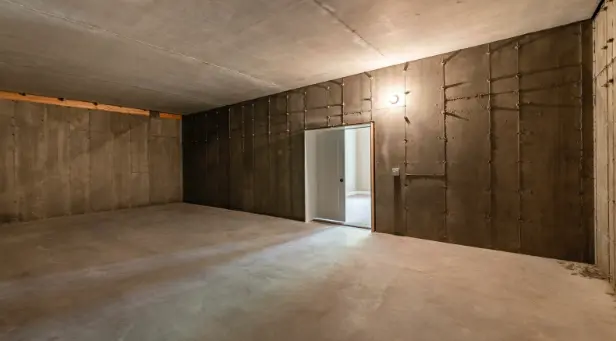
Proper installation ensures long-term protection, making vapor barriers especially useful in basements, garages, and other moisture-prone spaces.
Preparing for Vapor Barrier Installation
Before installing a vapor barrier on a concrete floor, preparation is necessary to create a smooth, effective moisture barrier.
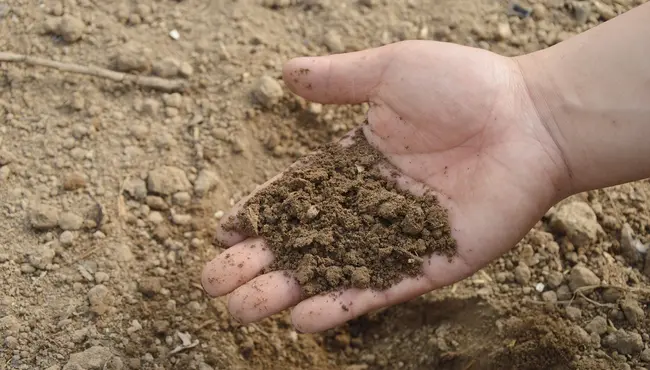
Assessing Moisture Levels in the Concrete
Testing the concrete slab for moisture levels helps determine if additional steps, such as applying a sealant or allowing more curing time, are necessary before installation. A calcium chloride test or a relative humidity probe can provide an accurate measurement of moisture presence.
Choosing the Right Vapor Barrier
Not all vapor barriers are the same, and selecting the right one depends on the application, durability, and moisture protection level required.
- Material: Polyethylene sheeting is the most common option, but reinforced barriers provide added strength for high-traffic areas.
- Thickness: A 6-mil barrier is the industry minimum but may not offer sufficient protection in high-moisture environments. 10-mil to 20-mil barriers provide greater durability and puncture resistance, making them better suited for commercial and industrial spaces.
- Permeability: Measured in perms, permeability ratings indicate how much moisture vapor can pass through a material. A low-permeance barrier (0.1 perms or lower) is preferred over concrete floors to limit moisture migration and protect flooring adhesives.
When selecting a vapor barrier, consider climate conditions, flooring type, and exposure to mechanical stress to ensure long-term moisture protection. Polyguard’s mechanical vapor barriers are engineered for high-performance moisture control, making them ideal for residential and commercial applications.
Gathering Tools and Materials
Having the right tools ensures a seamless installation process. Commonly used materials include:
- Vapor barrier sheeting
- Seam tape for sealing overlaps
- Utility knife for cutting the material
- Measuring tape and chalk line for precision
- A roller or squeegee to smooth out the barrier
Choosing a Vapor Barrier Based on Flooring Type
Not all flooring materials interact with vapor barriers the same way. Selecting the right vapor barrier depends not only on moisture protection needs but also on compatibility with the flooring type to prevent adhesion failures or performance issues.
- Hardwood & Engineered Wood: Wood flooring is highly sensitive to moisture, and improper vapor barrier installation can lead to warping or cupping. A low-permeance vapor barrier (0.1 perms or lower) is recommended to prevent moisture migration while still allowing adhesives to bond properly.
- Vinyl & Laminate: These materials require a smooth and fully sealed vapor barrier to prevent trapping moisture underneath, which can cause bubbling or plank separation. Some vinyl manufacturers specify underlayments with integrated vapor barriers to optimize adhesion.
- Tile & Stone: While less susceptible to moisture-related damage, tile and stone can still be affected by moisture vapor transmission. A vapor barrier can help maintain grout integrity and prevent efflorescence.
- Carpet: Carpet installations over concrete often include a vapor barrier to prevent moisture from reaching the padding, reducing the risk of mold growth. Thicker vapor barriers (10-mil or more) provide added durability in high-traffic areas.
Before installation, always check flooring manufacturer guidelines to ensure that the chosen vapor barrier meets compatibility requirements for warranty protection and long-term performance.
Step-by-Step Vapor Barrier Installation Over Concrete
Proper installation is key to ensuring a vapor barrier effectively blocks moisture and protects your flooring.
1. Surface Preparation
Start by thoroughly cleaning the concrete slab. Dust, dirt, and debris can prevent the vapor barrier from adhering properly. If cracks or holes are present, use a concrete patching compound to repair them. Allow the surface to dry completely before proceeding.
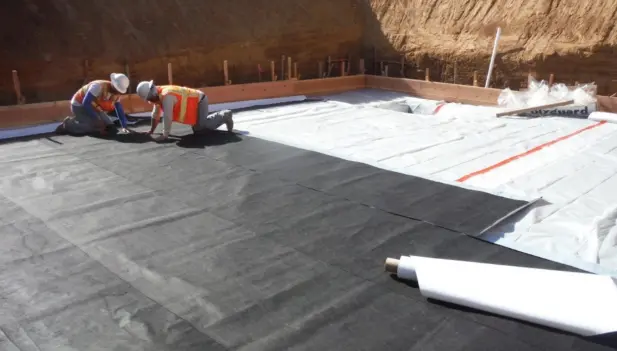
2. Laying the Vapor Barrier
- Roll out the vapor barrier, ensuring it covers the entire concrete floor.
- Overlap seams by at least six inches to create a continuous moisture barrier.
- Secure the seams using seam tape, pressing firmly to eliminate air pockets and gaps.
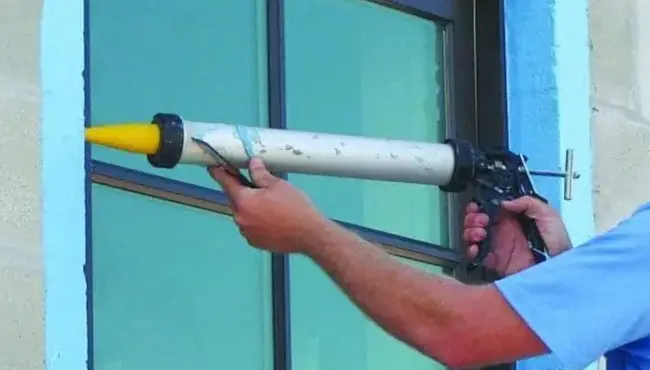
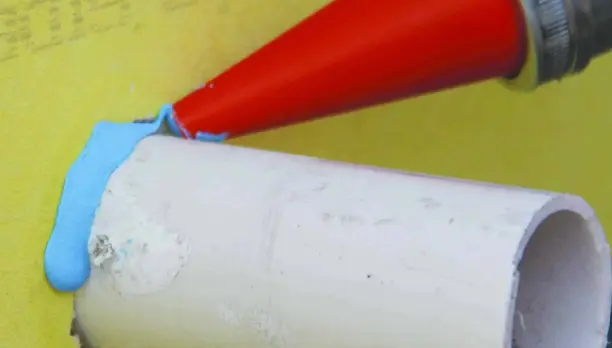
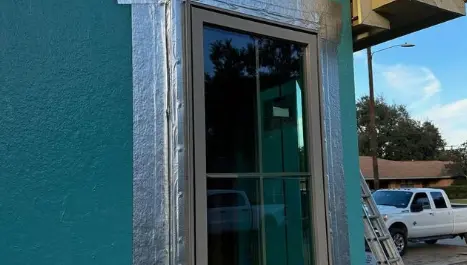
3. Sealing Around Penetrations and Edges
For complete protection, extend the vapor barrier up walls by 6-12 inches and secure it in place. Around pipes or other penetrations, use additional tape or sealant to prevent moisture from seeping through gaps.
4. Inspecting the Installation
Before covering the barrier with flooring or subflooring, conduct a final inspection. Knowing how to install a vapor barrier on a concrete floor helps ensure that all seams are properly sealed before covering the barrier with flooring or subflooring. Look for tears, gaps, or unsealed edges and correct them immediately. A well-sealed vapor barrier ensures long-lasting moisture control.
Do Building Codes Require Vapor Barriers Over Concrete?
Unlike under-slab vapor barriers, above-slab installations are not always explicitly covered in national building codes. However, industry best practices suggest that any vapor barrier used over a concrete slab should comply with ASTM E1745, which classifies vapor retarders based on tensile strength, water resistance, and puncture resistance.
Some local building codes may have specific requirements for vapor barrier thickness or permeability when used under flooring in moisture-prone areas like basements. Additionally, certain flooring manufacturers require vapor barriers that meet ASTM standards to maintain warranty coverage.
Before installation, consult both local regulations and flooring manufacturer guidelines to ensure compliance and avoid potential issues with adhesion or flooring performance.
Common Installation Mistakes to Avoid
Without a properly installed vapor barrier, moisture can accumulate beneath flooring, leading to warping, adhesive failure, and mold growth—especially in basements and high-humidity areas. To ensure long-term moisture control, avoid these common mistakes:
- Inadequate Overlapping: Less than six inches of overlap between sheets can allow moisture to escape through seams.
- Poor Sealing: Gaps in tape or improper adhesion around penetrations can lead to vapor leaks.
- Using the Wrong Thickness: A barrier that is too thin may tear easily, reducing its effectiveness.
- Skipping Surface Preparation: Dirt and debris can interfere with adhesion, making seams and edges less secure.
Taking the time to follow best practices ensures that the vapor barrier functions as intended.
Maintaining a Vapor Barrier Over Time
Once installed, a vapor barrier requires minimal maintenance, but periodic inspections can help prevent future issues.
- Check for Damage Before Flooring Installation: Before adding flooring, inspect the barrier for punctures or misplaced seams.
- Monitor Humidity Levels: High indoor humidity may indicate a compromised vapor barrier, requiring further assessment.
- Address Any Tears or Gaps: If damage occurs during construction, reseal the area with appropriate tape or patching materials.
A properly installed vapor barrier can last for decades, providing ongoing moisture protection.
Polyguard’s Solutions for Long-Term Moisture Control
Protect your flooring and indoor air quality with proper vapor barrier installation. While Polyguard specializes in advanced moisture control solutions, choosing the right vapor barrier for your application is key.
Contact our experts today to explore the best moisture protection strategies for your project.