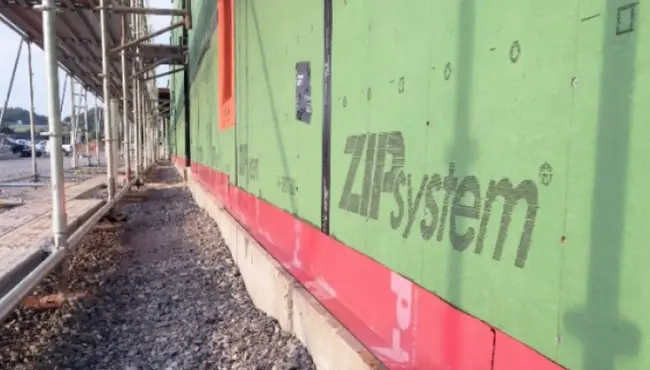
Effectively applying recessed window flashing contributes significantly toward a tight building envelope. The flashings will also help keep insects and pests outside and minimize the growth of unhealthy and structurally damaging rot and mold.

Successful application of window flashing to complex recessed windows requires attention to detail and high-quality flashing material appropriate to the climate zone. Fortunately, Poly Wall® offers flashing products for all your recessed windows needs, including permeable Poly Wall®'s Blue Barrier Flash' N Wrap 2400 and impermeable Aluma Flash™ UV Resistant Flashing.
A microscopic gap around a window or the wrong flashing product can cause a significant amount of water and air infiltration into the structure's interior.
Therefore, Poly Wall® strongly suggests leaving recessed window flashing applications to the building professionals. In addition, local ordinances may mandate a building inspector to ensure that the flashing (and all window installation details) complies with local building codes.
Window Flashing Codes
The 2021 IRC (R703.4.1) and IBC (1405.4) require flashing on the exterior window and door openings to prevent moisture from infiltrating the wall or redirecting it to the exterior. Furthermore, ENERGY STAR Certified Homes and DOE Zero Energy Ready Homes require flashing door and window and door openings.
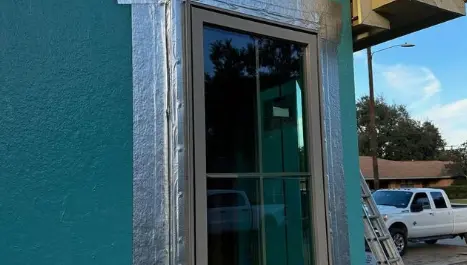
What is a Recessed Window?
Recessed windows sit inside the surrounding wall. A recessed window can contribute towards a sustainable building during the hot summer by reducing solar heat gains and bringing down the room temperature.
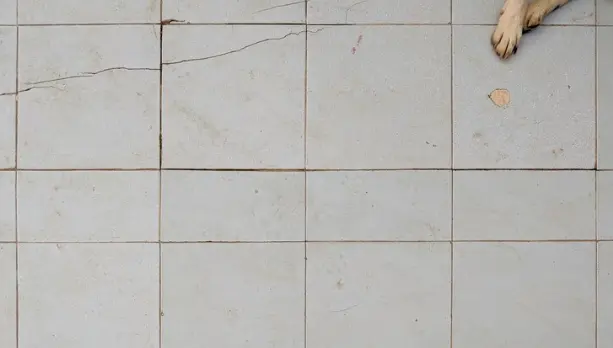
What Causes Recessed Windows to Leak?
The architectural detail of recessed windows makes them prone to leaking, mostly due to peel-and-stick flashing errors. However, other issues can also significantly contribute to water leaks into and around a recessed window:
Flashing and Sealant Errors
Leaks often occur due to improper or careless cutting and lapping (shingling) of peel-and-stick waterproofing flashing material.
The adhesive of flexible peel-and-stick flashing may not allow builders to stretch the flashing to the inside corners of a recessed window, which can lead to leaks.
Peel and stick flashing can lead to an excessive building up or thickness of the product on the window's frame.
Peel and stick flashings only sometimes ensure a tight seal in the corners of the frame. Therefore, to ensure a tight seal around the frame, install pre-fit flashing corners or apply liquid flashing in the tough-to-seal areas around the frame.
Not flashing the surrounding wall system (recessed opening) will lead to leaks.
Not using a flashing membrane roller to adhere to the peel-and-stick flashing tape will create insufficient securing of the flashing, leading to leaks.
Missing or damaged sealant or caulk around a window allows moisture to infiltrate the window through cracks and gaps. It will also lead to high heating and air conditioning bills.
Wind-driven rain pounding on the window, particularly if the structure lacks adequate overhangs.
Flat or inward slopes of the recessed window sill and sub-sill can contribute to water intrusion. The sill must slope away from the window to remove rainwater.
Not installing a drip cap over the top of a window that sheds water outward will allow seeping behind the window.
Damage to the roofing, siding or adjacent walls can allow water to intrude into a recessed window.
- Condensation can form on a recessed window when warm inside air comes in contact with the cooler outside air. Common reasons that this occurs include:
A damaged seal around the window
A lack of sufficient insulation around the windows
Building teams often use recessed window openings as stepping stools to pass tools and materials in and out during construction, which can damage the lower edge. Therefore, install an extra layer of black paper on the sill of the window opening for additional protection.
General Guidelines for Flashing Recessed Windows
Effectively installed recessed window flashing will stop bulk water (that makes its way past the cladding) from infiltrating the window and building. In addition, adequately installed recessed window flashing will add value and attractiveness to a building or home and save energy and money for the structure's lifetime.
Applying window flashing to a recessed window should follow the manufacturers' instructions to maintain the window's warranty. The flashing, permeable or impermeable, depends on the climate:
Cold and mixed-climate areas need permeable air barriers, like Poly Wall®'s Blue Barrier Flash' N Wrap 2400, that allow moisture vapor to move through the membrane, to promote diffusion out of the wall system.
Hot and humid climates require impermeable flashings, like Aluma Flash™ UV Resistant Flashing, that block vapor and air.
However, because of the complexity of effectively flashing a recessed window Poly Wall® recommends you contact a Poly Wall® window professional or hire an experienced recessed window installer for help flashing your recessed windows.
Applying Recessed Window Flashing in Cold and Mix-Climate Regions
To avoid the many problems of using peel-and-stick flashing around recessed windows, Poly Wall® recommends using a liquid-applied product like our Blue Barrier™ Flash' N Wrap™ 2400 as a best practice for flashing recessed windows.

Eco-friendly Blue Barrier Flash' N Wrap 2400 uses Silyl Terminated Polyether (STPE) Technology to produce a permeable and continuous membrane around a recessed window with no breaks or seams. When installed on the outer side of the window, the flashing's permeable properties allow vapor inside the warm building to diffuse outside, to protect the structure's durability, indoor air quality, and comfort.
Applying Blue Barrier™ Flash' N Wrap 2400 to Recessed Windows
Step 1. Clean Substrate
Ensure a clean, dust-free, smooth, and dry service for applying the flashing.
Step 2. Create a Back Dam
Water will make its way through even the tightest claddings. Installing a back dam or positive slope (about 2 inches per foot) on the sill and sub-sill will stop the backflow of water into the window and building envelope.
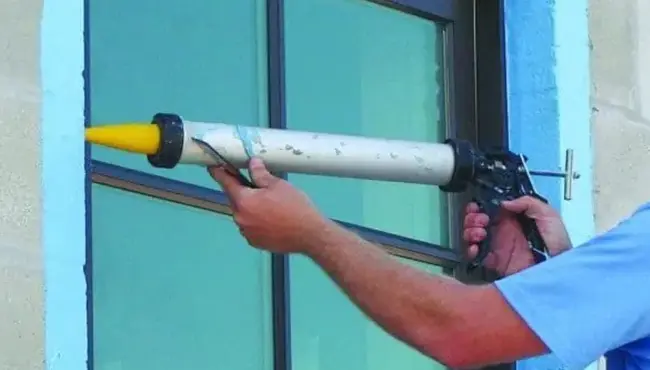
Step 3. Apply Joint Filler
Using a specialized spray gun, apply Poly Wall Blue Barrier Gap Filler2200 to the corners and sill seam to fill any visible imperfections in rough openings and the surrounding recessed wall (to no more the ⅜ of an inch thick).
Permeable Poly Wall® Blue Barrier™ Gap Filler2200 provides a structural adhesive and detail sealant to fill voids and seams and bond dissimilar materials.
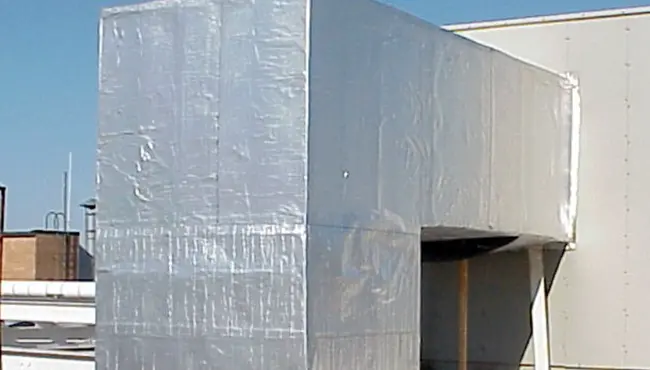
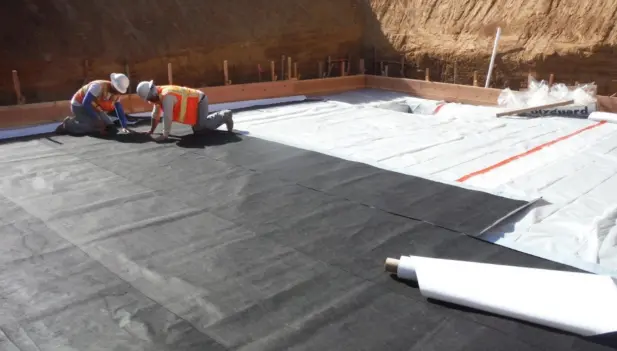
Step 4. Wrap Vapor or Weather Resistant Barrier Around Window Edges and Walls.
A recessed window flashing system does not technically include a vapor barrier. However, wrapping the exterior wall vapor barrier (house wrap) around the inside edges (jambs and sills) of the recessed rough openings and open wall space adds significant
protection against water infiltration. Polyguard peel and stick vapor barriers include:
Step 5. Applying Blue Barrier™ Flash' N Wrap 2400
Using a trowel, apply beads of the Blue Barrier™ Flash' N Wrap 2400 over the body of the window frame and recessed wall. Then use the trowel to spread the flashing around the entire opening evenly.
After the flashing cures, install the recessed window and apply Blue Barrier Flash' N Wrap 2400 over the window flange.
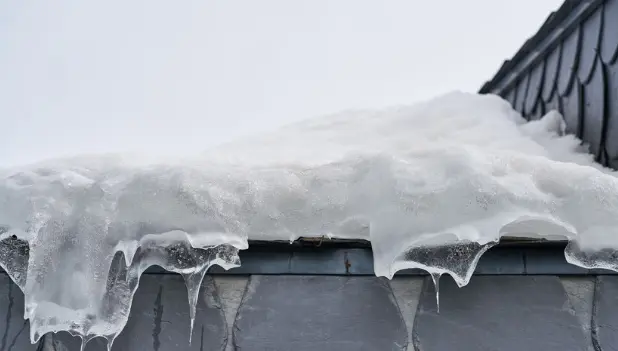
Step 6: Install Drip Cap
Fit drip caps over the top of a recessed window, TO further shedding water outward and keep it from seeping behind the window.
Applying Recessed Flashing in Hot and Humid Climates
Hot and humid climates require impermeable flashings, like Aluma Flash™ UV Resistant Flashing.
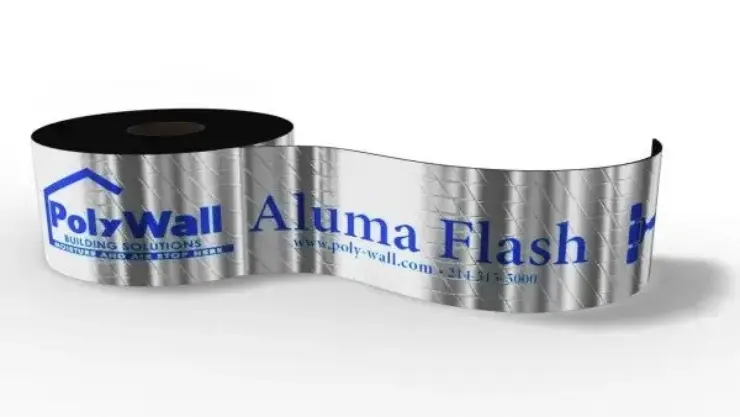
Non-permeable Poly Wall® Aluma Flash™ UV Resistant Flashing offers a superior solution to blocking moisture-filled air and water out of recessed windows, and sealing around nails with no fasteners, cap nails, or staples to allow for thermal bridging.
Furthermore, Aluma Flash™ elastomeric flashing will retain its original shape and size when significantly stretched or compressed, even when applied to geometrically complex recessed windows. It also offers UV and chemical resistance and adheres well when used per the manufacturer's installation and performance requirements.
Applying Aluma Flash™ to a Recessed Window
Step 1. Prime the clean, dry window frame and recessed wall with either:
Home Stretch™ WB Liquid Adhesive applies at a rate of 350 - 400 ft2 per gallon, or
Polybond™ Clear Liquid Adhesive applies at a rate of 250 - 300 ft2 per gallon.
Step 2. Create a Back Dam
Water will make its way through even the tightest claddings. Installing a back dam or positive slope (about 2 inches per foot) on the sill and sub-sill will stop the backflow of water into the window and building envelope.
Step 3. Apply Aluma Flash™
Cut the flashing to size.
Place the flashing where you plan to install the flashing.
Pull the release film back a couple of inches at one end of the flashing, to reveal the adhesive surface.
Place the adhesive surface onto the exact spot you plan to install.
With one end in place, gently pull back the release film along the roll. As you uncover more adhesive, place the membrane on the surface.
At the end of the first section, check for 100-% surface contact of the rolled areas. Press out any small wrinkles. Cut out and repair prominent wrinkles with a section of material.
When installing the next two rolls, overlap the ends 4" and sides 2.5".
Cover the perimeter of the slider door with the Aluma Flash™ Plus.
Step 4. Apply Poly Wall® Blue Barrier Gap Filler2200 to imperfections or seams in the flashing, like in the corners.
Step 5. Install the recessed window.
Step 6. Apply Blue Barrier Gap Filler2200 over the window flange.
Step 7. Install Drip Cap.
Fit drip caps over the top of a recessed window, to further shed water outward and keep it from seeping behind the window.
Poly Wall® Offers the Best Flashing for Recessed Windows
Poly Wall's Blue Barrier™ Flash' N Wrap™ 2400 (for cold climates) and Aluma Flash™ UV Resistant Flashing (for hot and humid climates) are a superior solution to flashing systems for recessed windows. Both systems prevent air, water, and insect infiltration into structures when effectively installed, to help create an energy-efficient, weather-resistive, tight building envelope.
Don't hesitate to contact professionals atPoly Wall® for more on the most effective flashing systems for recessed windows!