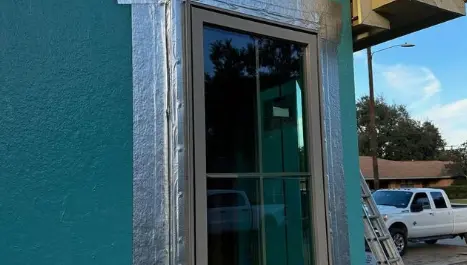
Termite infestations can wreak havoc on a home’s structural integrity, leading to expensive pest control visits and repairs.
To avoid this, you should work on installing a termite barrier around your house to proactively safeguard your property.
Want to know how? Read this guide!
We’ll explain how to install a termite barrier around your house step by step.
What Are Termite Barriers?
Termite barriers are protective measures that help prevent termites from entering and infesting your home—acting as the first and, sometimes, only line of defense.
Types of Termite Barriers
Termite barriers are designed to prevent termites from accessing the foundation and other vulnerable parts of a home.
They generally fall into two categories: physical and chemical barriers.
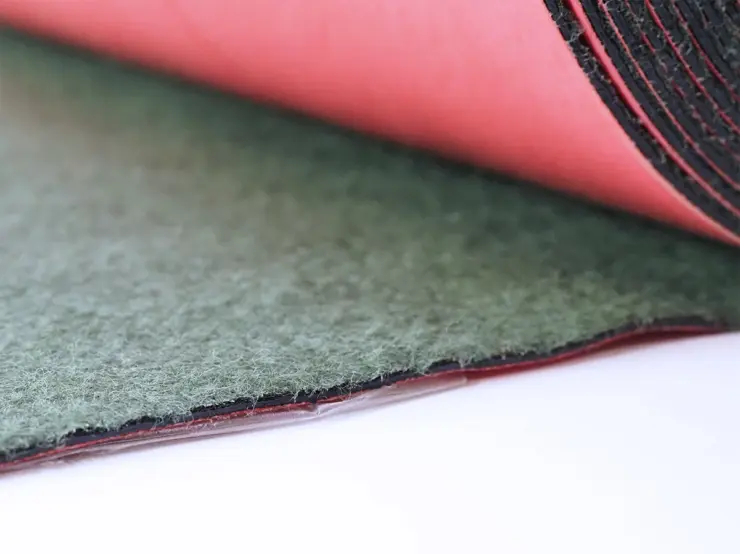
Physical Barriers
These include stainless steel mesh and thick plastic sheets placed between the soil and the house foundation, with the sole purpose of blocking termites from tunneling through the soil and reaching the structure.
While steel mesh is more durable, plastic barriers are easier to install and can still offer significant protection.
Chemical Barriers
These involve treating the soil around the home with termiticides and creating a protective zone that kills or repels termites.
Popular termiticides, such as Fipronil, are slow-acting and allow termites to carry the poison back to their colonies before dying. Chemical barriers can also be installed during construction or as a retrofit project to existing homes
Long-Term Advantages of Termite Barriers
Investing in a termite barrier is not just about immediate protection. It offers long-lasting benefits that can save homeowners from future headaches, such as:
Long-Term Savings
Homeowners can reduce the costs of repairs that could result from infestations, and termite barriers reduce the need for repeated pest control treatments
Increased Property Value
Homes with termite barriers installed are often more appealing to potential buyers. The assurance that the property is protected against termites is a significant selling point.
How to Install a Termite Barrier: Step-by-Step Guide
Installing a termite barrier requires careful planning and execution. The following steps ensure a successful installation tailored to different types of foundations.
Pre-Installation Preparation
1. Site Review
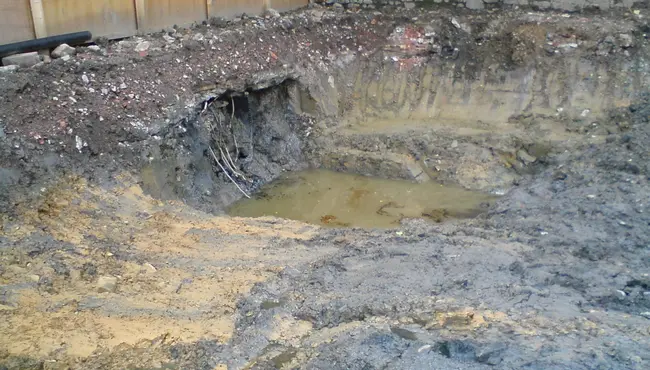
Begin by thoroughly inspecting the site. Look for any signs of existing termite activity and assess the condition of the soil and foundation.
2. Subgrade Preparation
Before laying down any barrier, ensure the subgrade is level and properly compacted. Whether you’re working with crushed rock or compacted earth, a stable subgrade is needed.
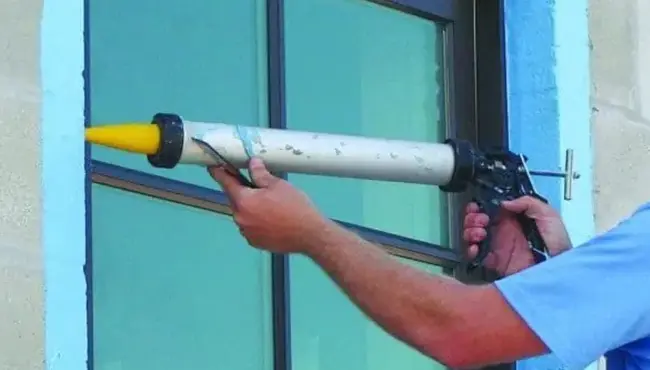
3. Plumbing and Utility Penetrations
Check that all plumbing and utility installations are completed. Pipes and conduits that penetrate the foundation must be properly sealed to prevent termites from using these as entry points.
Avoid sealing barriers to any insulation around the pipes; instead, ensure a direct seal to the pipe material.
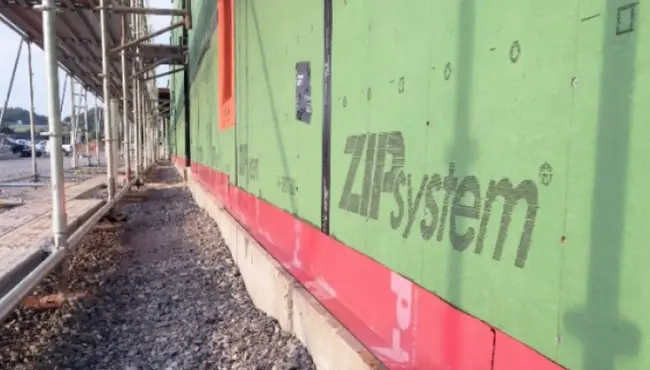
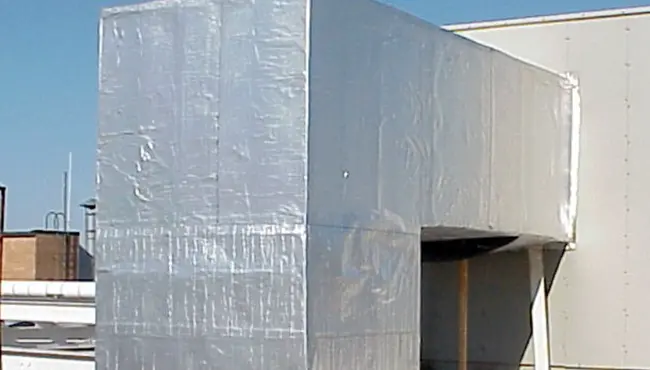
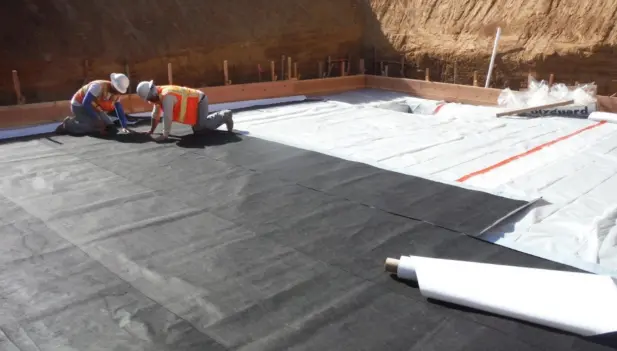
Installation of Physical Barriers
4. Barrier Placement
Lay out the physical barrier (e.g., steel mesh or plastic sheeting) across the slab area. Ensure it covers the entire area and overlaps by at least six inches at all seams. Seal these overlaps with high-quality seaming tape to maintain an uninterrupted barrier.
5. Terminating and Sealing
Terminate the barrier at the edges by sealing it to the foundation or grade beams. This can be done using a termination bar and appropriate sealants. Ensure all edges are uniformly sealed to prevent gaps where termites might enter.
6. Sealing Slab Penetrations
Use a combination of barrier material and sealants to protect areas where pipes or conduits penetrate the slab. For tightly spaced clusters of pipes, a self-leveling epoxy sealant may be the best solution to ensure no gaps are left uncovered.
With the foundation type in mind, it's important to adjust your installation approach to ensure the termite barrier effectively protects your specific home structure.
Specific Installation Techniques for Different Foundations
Understanding the specific installation techniques for different types of foundations is also important.
Slab Foundations
- Slab Preparation: Before installing the termite barrier, ensure that the slab area is cleared of debris and organic material. This minimizes the risk of termites bypassing the barrier through gaps or voids in the concrete.
- Under-Slab Barriers: For slab foundations, it's recommended to install the barrier underneath the entire slab. This involves placing the barrier material directly onto the compacted subgrade before the concrete is poured. This method provides continuous protection against termites entering through the base of the slab.
- Perimeter Treatment: Additionally, treat the perimeter of the slab with a chemical barrier by trenching around the foundation. This combined approach ensures that termites cannot bypass the barrier by going around the slab.
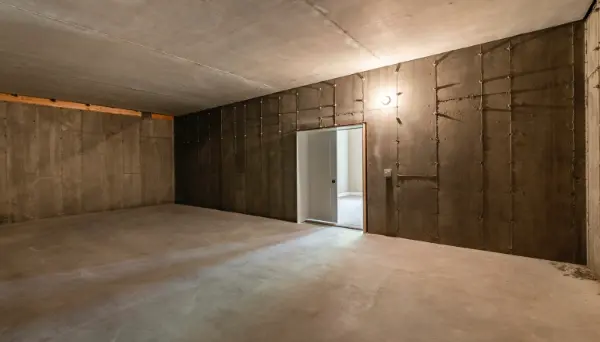
Crawl Space Foundations
- Crawl Space Clearance: Ensure that the crawlspace is accessible and free of obstructions. All organic material, such as wood scraps and vegetation, should be removed to eliminate termite food sources.
- Barrier Installation: Install the termite barrier along the ground within the crawlspace, covering the entire area. For enhanced protection, consider placing the barrier both on the ground and along the inside of the foundation walls. This dual-layer approach prevents termites from entering the structure from below or through the walls.
- Ventilation Considerations: Ensure that the installation of the barrier does not obstruct the crawlspace’s ventilation system. Proper ventilation helps maintain dry conditions, which are less attractive to termites.
Applying Chemical Barriers for Maximum Protection
After laying the initial termite barrier around the house, you can use chemical treatments to provide an added layer of defense against termite invasions. To do this, follow these steps:
1. Trenching
Start by digging a trench around the house, and make sure it reaches down to the foundation footings. The trench should be wide and deep enough to hold the termiticide.
2. Soil Treatment
Apply the termiticide to the soil, following the manufacturer’s instructions for mixing and application rates.
Fill the trench with treated soil, and ensure the chemical barrier extends around the entire foundation.
For enhanced protection, consider using Polyguard’s Supplemental Termite Barriers in conjunction with the chemical treatments. These barriers offer additional defense against termites.
3. Maintenance
Over time, chemical barriers may need reapplication, especially after several heavy rainfall events. Regular inspections, however, will help you determine when maintenance is required.
Ensuring Effective Drainage with Termite Barriers
When installing termite barriers, it’s not just about keeping termites at bay. You need to make sure your home's drainage system continues to function properly. Here’s why:
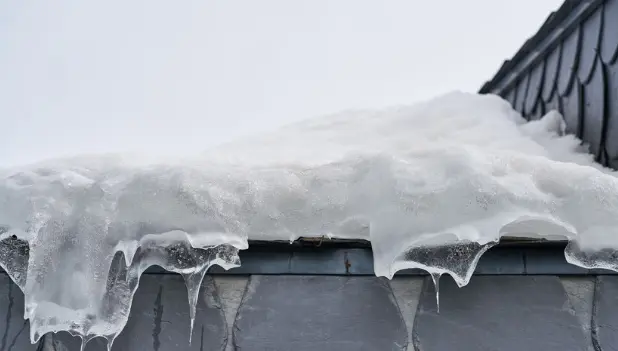
The Importance of Proper Moisture Control
Termites are attracted to damp environments. And if you’re installing physical barriers, such as metal mesh or plastic sheets, you could potentially alter the natural flow of water around your foundation.
Water starts pooling and, in the future, termites might start comming.
Considerations During Chemical Barrier Installation
Similarly, during the trenching process for chemical barriers, you must avoid disrupting existing drainage solutions.
Incorrect trenching could compact the soil in a way that hampers the movement of water away from the foundation.
Polyguard’s Integrated Solutions
Polyguard’s integrated solutions, such as their Waterproofing with Non-Chemical Termite Barrier, are designed to work in harmony with moisture control and drainage systems and ensure that both termite protection and water management are effectively maintained.
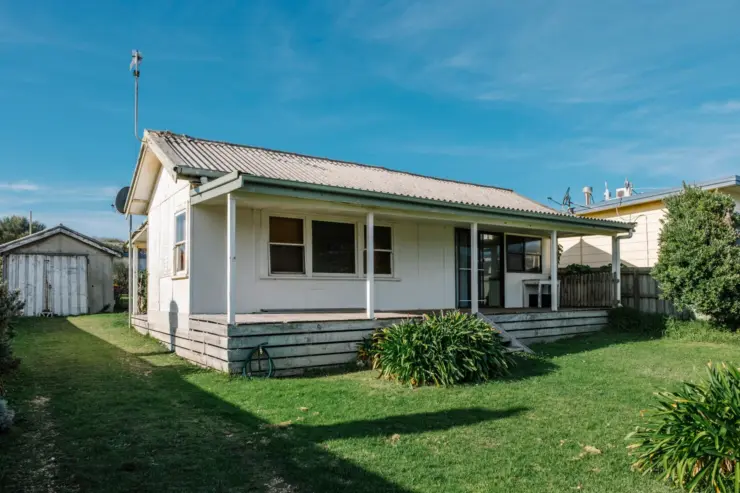
Installing Termite Barriers in New vs. Existing Homes
Installing termite barriers can vary depending on whether you’re dealing with new construction or an existing structure.
For New Constructions
Installing termite barriers during the construction phase is generally more straightforward and less expensive. Physical barriers can be integrated with the foundation work. This ensures a complete termite barrier around the house.
For Existing Homes
Installation is more labor-intensive, especially if structural adjustments are necessary. However, with proper planning, even retrofitted barriers can provide effective protection against termites.
Why Choose Polyguard’s Termite Barrier Solutions?
Polyguard offers a range of termite barrier products tailored to both new constructions and existing homes.
Our products are designed to integrate seamlessly with your building’s foundation, providing robust protection without compromising structural integrity.
Contact us today for more information.