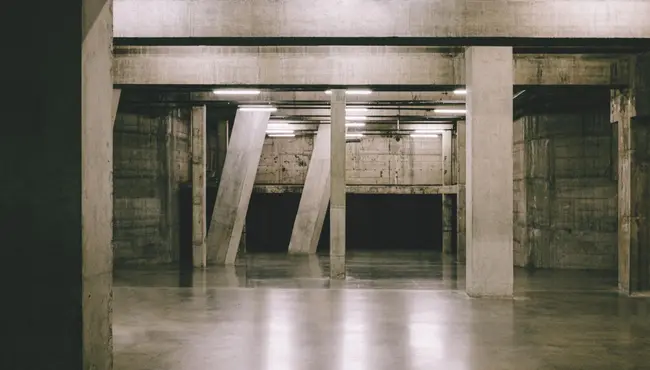
Proper foundation drainage systems are key to maintaining the structural integrity of residential properties.
And if you’re a homeowner or residential developer, understanding how these systems work and are installed can increase the longevity of your property.
Are you ready to take a closer look at the best house foundation drawing systems—and how you can install one?
Let’s jump in!
How do Foundation Drainage Systems Work
Foundation Drainage systems prevent water from pooling around and penetrating the structure’s foundation.
These systems come in the form of:
- French drains
- Footing drains
- Grading solutions
- Sump pumps
The goal of each option, however, is the same: to help design to divert water away from the foundation effectively.
French Drain
A French drain is a popular house foundation drainage system designed to prevent water from pooling around your foundation.
It typically consists of perforated pipes surrounded by gravel or crushed stone. These materials allow water to seep into the pipe while preventing soil, grass, or leaves, from clogging the system.
Materials Used
- Gravel or Crushed Stone: Ensures water flows freely into the pipe without soil clogging it.
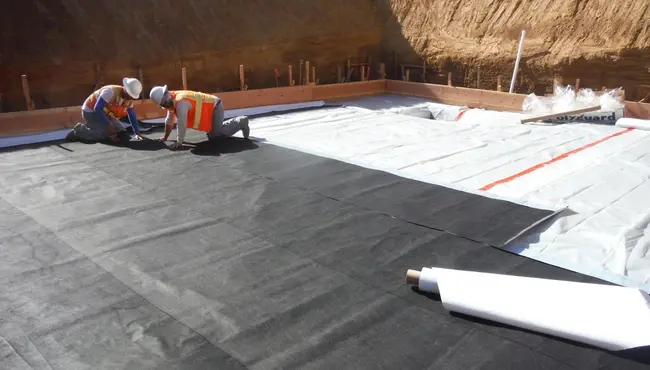
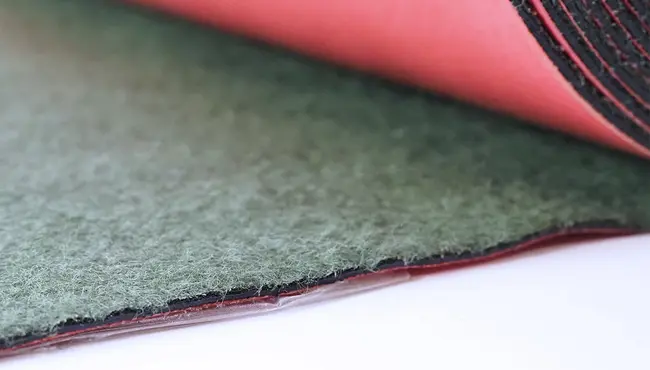
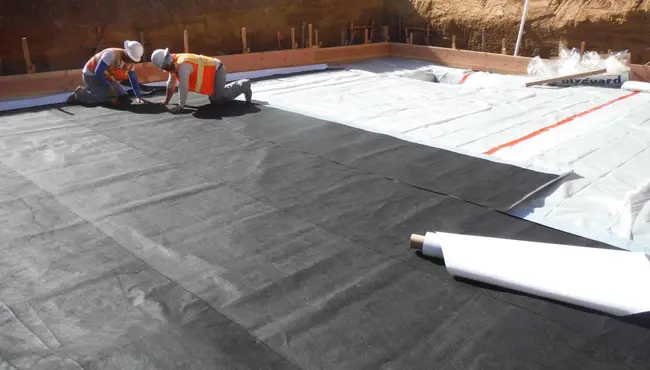
- Geotextile Fabric (Optional): In regions with high soil acidity, a protective geotextile fabric is often used. This fabric enhances filtration and extends the drain's lifespan by shielding the pipe from potential chemical damage caused by the soil.
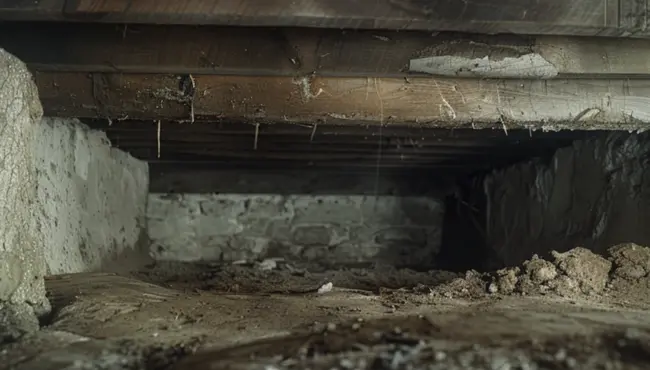
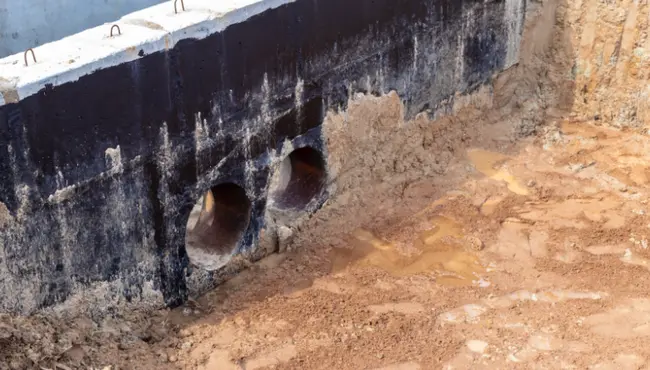
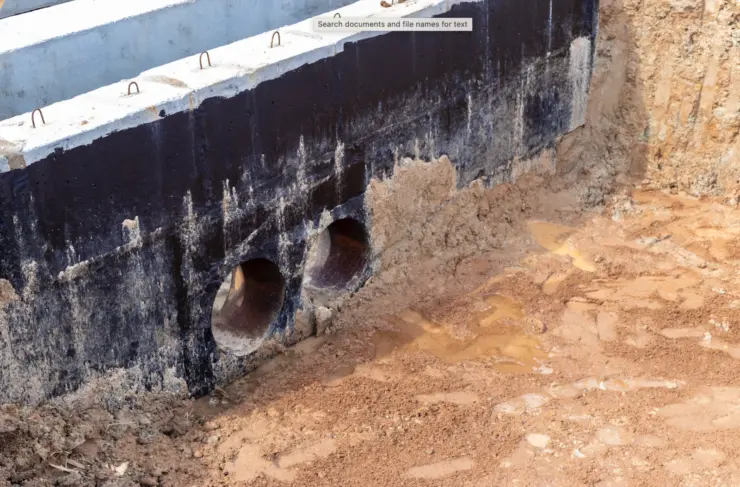
Footing Drains
Footing drains are installed at the base of the foundation footing—typically during the construction phase.
These drains are particularly effective in areas with high water tables because they direct water away from the foundation before it can cause damage.
Materials Used:
- Perforated Pipe: Like French drains, footing drains use perforated pipes to collect and redirect water.
- Gravel or Crushed Stone: Surrounding the pipe with gravel or crushed stone prevents soil from clogging the system and ensures proper drainage.
- Geotextile Fabric (Optional): In areas with fine soil or potential contaminants, using geotextile fabric can help prevent sediment from entering the drainage system.
Footing drains are also highly effective in preventing water accumulation around the foundation, and they can last up to 50 years with proper installation.
But the installation process requires significant excavation, which increases costs and regular maintenance.
Grading Drainage
Grading drainage involves shaping the landscape around the house foundation to direct water away naturally. This method is often used alongside other drainage systems to improve overall effectiveness.
Materials and Techniques:
- Proper Grading: The landscape is graded to create a slope that directs water away from the foundation.
- Soil Type Considerations: The effectiveness of grading depends heavily on the type of soil; sandy soils drain more quickly, while clay soils may require additional drainage systems like French or footing drains.
- Complementary Systems: In some cases, additional drainage systems, such as French drains or surface drains, are installed to ensure complete water management.
The best part about grading drainage is that it’s relatively inexpensive and easy to maintain. It also integrates seamlessly with landscaping.
However, in areas with heavy rainfall, additional foundation drainage systems are necessary.
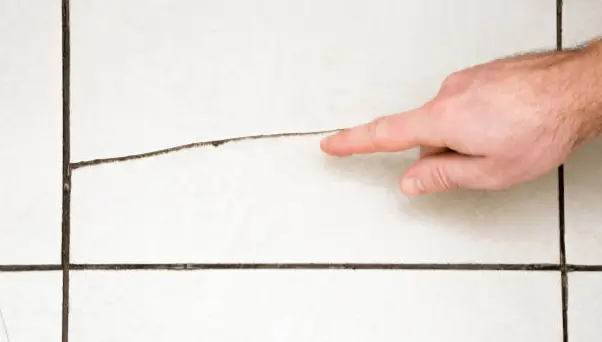
Not to mention, poor installation can lead to water pooling and damage to exterior siding, which is why this needs to be considered at the beginning of any house foundation construction.
Sump Pumps
Sump pumps are installed in a pit within the basement or crawl space, where they collect and pump water away from the foundation. This system is ideal for homes in areas with frequent flooding or high water tables.
System Components:
- Sump Pit: The pit is strategically located in the lowest part of the basement or crawl space to collect accumulating water.
- Pump Types: Sump pumps can be submersible or pedestal, depending on the space and the volume of water they need to manage.
- Discharge Pipe: The pump pushes water through a discharge pipe, which directs the water away from the foundation.
Sump pumps are reliable in preventing basement flooding and can handle significant volumes of water. Keep in mind: they require regular maintenance and electricity to function.
Step-by-Step Guide to Planning and Installing Foundation Drainage Systems

Now if you’re looking to learn how to install a foundation drainage system effectively, here are the general steps that you will need to take:
1. Perform Soil and Climate Assessment
Before beginning the installation, you will have to analyze the soil type and climate conditions around your property. Soil permeability and moisture levels always affect drainage system performance. For instance:
- Clay Soils: These require robust drainage systems because of their low permeability.
- Sandy Soils: These may need less intervention as they drain more quickly.
Conduct soil tests to assess the moisture levels and ensure your design accommodates the specific needs of your location. Combine this factor with the amount of rain or snow or water your area experiences.
2. Code Compliance
Adhering to local building codes is another factor to consider when installing a foundation drainage system. According to the International Residential Code (IRC), foundation drainage systems must:
- Extend at least 12 inches beyond the footing's edge to adequately capture water runoff.
- Maintain a slope of at least 1/8 inch per foot to ensure proper water flow away from the foundation. This prevents water from pooling near the structure, which could compromise the foundation's stability.
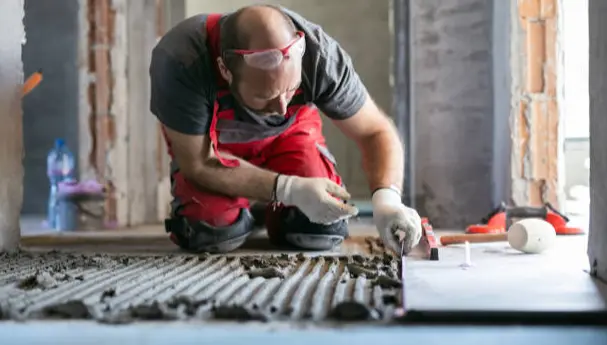
3. Excavation and Trenching
The first physical step in foundation drainage system installation is digging a trench around the foundation's perimeter. This trench needs to be deep enough to sit below the foundation footing—typically at least 12 inches deep—depending on your foundation's depth.
- Trench Slope: Ensure the trench slopes away from the foundation at a rate of 1/8 inch per foot to guide water efficiently towards the drainage outlet.
- Trench Width: The trench should be wide enough to accommodate the drainage pipe, typically around 12 inches.
4. Laying the Foundation
Once the trench is prepared, you need to lay the foundation. Here’s how:
- Begin by laying a layer of gravel at the bottom of the trench. This gravel should be about 2-3 inches deep, providing a stable base for the drainage pipe.
- Place the perforated pipe on top of the gravel, ensuring that the perforations face downward. This positioning allows water to enter the pipe efficiently and prevents soil from clogging the system.
5. Backfilling the Trench
After the pipe is in place:
- Cover the pipe with another layer of gravel, ensuring that it’s completely surrounded. This additional gravel should be around 6 inches deep, providing protection and further filtration.
- Once the gravel is in place, backfill the trench with the soil that was initially removed, ensuring that the slope is maintained. Lightly compact the soil to prevent future settling.
6. Handling Obstructions
During installation, you might encounter obstacles such as tree roots or utility lines. Here’s what you need to do for both options:
- Tree Roots: These can be particularly challenging. Consider rerouting the drainage system around major roots.
- Utility Lines: Again, reroute the drainage system. To avoid this, always check for utility lines before digging and reroute your system if necessary to avoid damage.
7. Installing the Outlet
All drainage systems require a clear outlet where water can be safely discharged away from the foundation. Consider the following:
- Identify the lowest point of your property, where water can naturally flow away from the foundation, such as into a storm sewer or a sump pit. That’s the bet location.
- Ensure the outlet is secured and protected from potential clogs. Regularly check this area to ensure that water is flowing freely and that there are no blockages.
8. Final Inspection and Testing
Once installation is complete, there are only a few more things you need to do, regularly:
- Inspect the entire system for any potential issues, such as areas where the slope might be insufficient or where the pipe might not be securely placed.
- Test the system by running water through it, checking for proper flow from the trench to the outlet. Ensure that there are no leaks or blockages and that the water is efficiently diverted away from the foundation.
9. Maintenance Considerations
To truly make sure your house foundation drainage system works effectively—year after year—you should conduct regular maintenance. This involves:
- Inspecting system at least twice a year, particularly before and after heavy rain seasons.
- Clearing any debris from the outlet and checking that the pipe remains free of sediment and root intrusion.
(We’ll talk more about maintaining your system next.)
Best Practices for Maintaining Your Exterior Foundation Drainage System
As we just mentioned, performing maintenance on the foundation ensures it lasts longer. Here are a few of the best maintenance practices to keep in mind:
Gutter and Downspout Maintenance
Keep gutters and downspouts free of leaves and other debris. Overflowing gutters can overwhelm your drainage system and lead to water damage.
Sump Pump Checks
Regularly inspect the sump pump if you have one, especially before periods of heavy rainfall. Confirm that it is functioning correctly to manage water volume effectively.
Flushing French and Footing Drains
For French and footing drains, consider flushing the system annually with a garden hose. This helps dislodge any sediment buildup that could impede drainage.
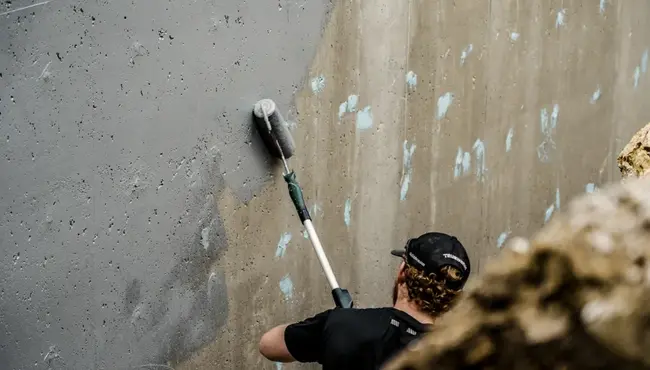
Protect Your Foundation with Polyguard’s Drainage Solutions
Polyguard provides industry-leading products specifically designed to optimize the performance of your foundation drainage system.
Whether you're installing French drains, footing drains, or sump pumps, our durable and efficient solutions ensure that water is effectively diverted away from your foundation, protecting your property from potential damage.
Contact us today for more information.