Basement moisture doesn’t always announce itself with puddles or leaks. In many homes, it creeps in slowly, weakening concrete, encouraging mold, and damaging finishes over time. Knowing how to seal basement walls can prevent years of costly repairs and stabilize the entire structure.
Why Basement Walls Leak in the First Place
Basement walls face relentless contact with wet soil. Water moves through concrete because the material is porous. Saturated ground combined with hydrostatic pressure forces water vapor and even liquid moisture into micro-cracks and open capillaries. Over time, this wears away finishes and creates conditions ideal for mold and mildew.
The problem isn’t always visible. Moisture often enters through cooled concrete, where indoor air condenses against the walls. This quiet intrusion makes proper wall sealing a key part of preparing a basement, whether the space is finished or not.
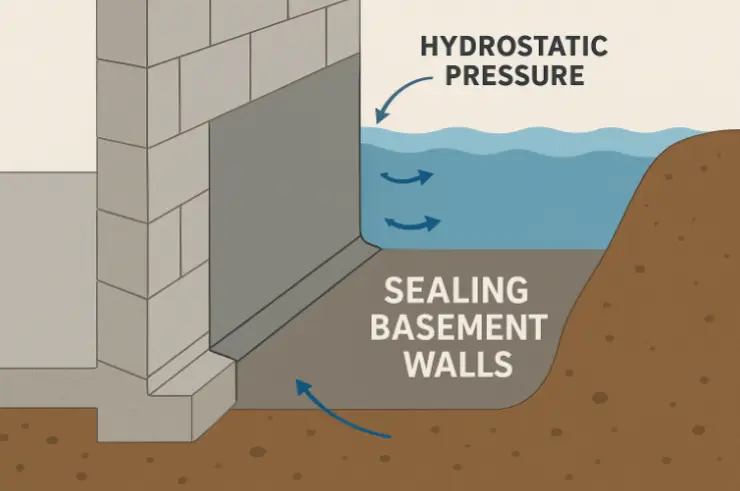
Diagram: Hydrostatic pressure from surrounding soil pushes moisture into foundation walls through pores, cracks, and joints. Proper sealing blocks these intrusion paths both inside and outside.
Surface Preparation Sets the Stage for a Strong Seal
No sealant will perform correctly on a dirty or crumbling surface. Walls must be dry and structurally sound. This is a non-negotiable first step in how to seal basement walls correctly. Remove old paint or loose material. Address white, chalky deposits caused by water evaporation—called efflorescence—using a stiff brush and appropriate cleaner.
Repair Cracks with Compatible Fillers
Before applying any sealant, fill cracks based on their width and depth. Hairline fractures often need only a surface-grade patching compound. Deeper or wider gaps require hydraulic cement or epoxy-based materials. Improper crack repair invites early failure, especially if the coating spans unsupported joints.
Address Hidden Moisture with Care
Even if a wall looks dry, trapped moisture may still be present. Use moisture meters or tape-and-foil tests to identify problem zones. These tools help determine whether interior sealing alone is enough or if external drainage should be addressed as well.
Choosing a Sealant That Matches the Wall Conditions
The type of sealer matters. Options include silicate-based densifiers, elastomeric coatings, and waterproofing paints. Each offers different strengths depending on surface exposure and expected moisture levels.
To choose the right approach, homeowners need a clear understanding of how to seal basement walls based on substrate and water exposure. Silicate products chemically react with concrete to block pores from within. Elastomeric coatings create a flexible barrier over the surface and work well in areas with potential movement. Waterproofing paints are often easiest for DIY use but offer the least durability.
Step-by-Step Application Process for Sealing Basement Walls
A reliable sealing job follows a clear and consistent method. Each step prepares the wall and ensures maximum adhesion and long-term protection. This is especially important for concrete and block substrates.
- Inspect and clean the surface — Remove all efflorescence, old coatings, and debris. The wall must be dry, clean, and structurally sound.
- Repair cracks and joints — Use hydraulic cement or compatible filler for visible cracks. Let repairs cure before sealing.
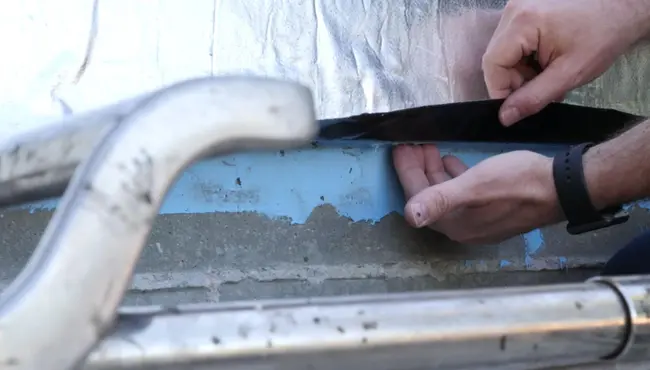
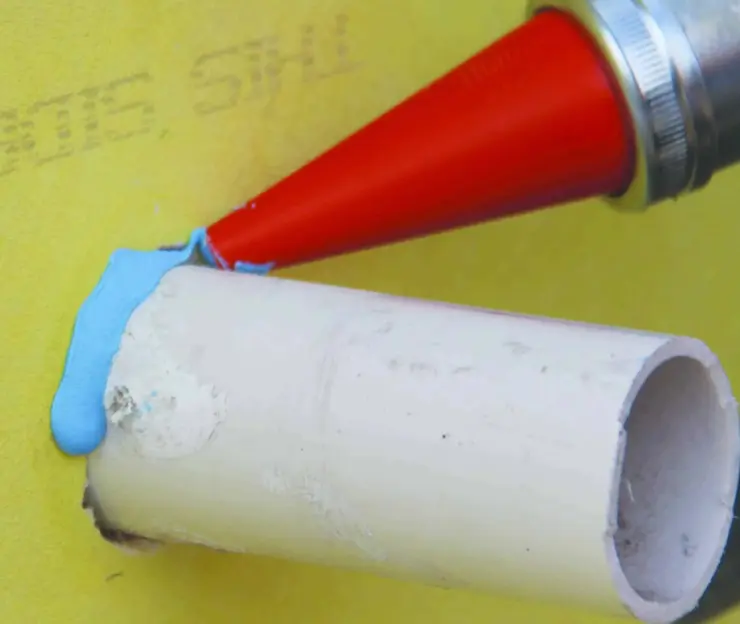
- Detail critical areas — Around pipes, windows, and corners, apply brush-on sealant carefully to prevent gaps.
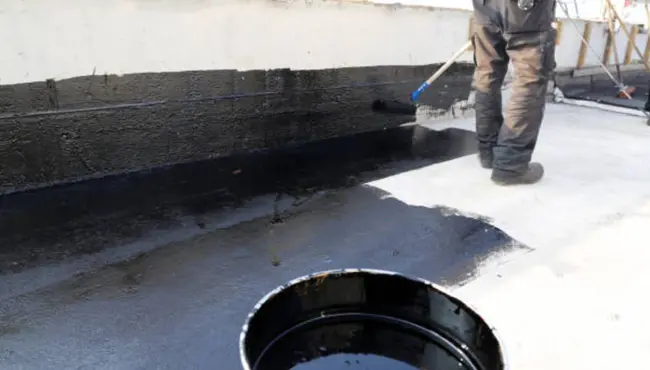
- Apply coating — Use a roller or sprayer, following the spread rate listed by the manufacturer. Cover all surfaces in at least two coats applied in alternating directions.
- Allow full cure — Maintain correct temperature and humidity until fully set. Avoid rushing this step, as premature exposure reduces performance.
Coverage Estimate Example:
A typical wall may need 1 gallon of product for every 75–100 square feet, per coat. For a 400 sq. ft. wall with two coats, expect 8–10 gallons.
Application Technique Determines Durability
Proper sealant application involves more than rolling on a coat. Walls must be evenly covered using both vertical and horizontal passes. This fills surface voids and improves adhesion. Avoid overapplication, which can trap moisture or cause peeling.
Don’t Overlook Weak Points
Corners, window frames, and pipe penetrations often leak first. These areas should be detailed carefully with sealant brushed into joints. Caulk or expanded foam may be needed to complete the barrier.
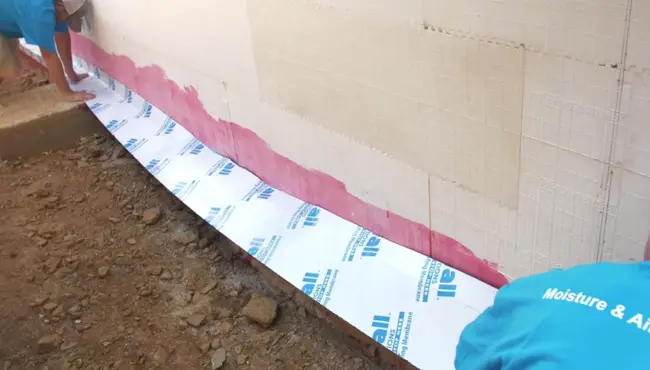
Integrating Exterior Waterproofing for Long-Term Control
Interior sealants are essential. Still, understanding how to seal basement walls effectively helps create a first line of defense. When water seepage comes from saturated soil or sloped terrain, sealing from the inside may not stop the pressure. That’s when exterior waterproofing becomes critical.
When to Add Exterior Protection
If water marks reappear despite sealing, or if basement flooding occurs during storms, the issue likely originates outside. In these cases, solutions like soil grading, French drains, and external moisture barrier systems relieve pressure and redirect flow.
Effective Measures for Drainage
- Soil Grading: Ensure ground slopes away from the foundation at a minimum 5% grade for the first 10 feet.
- Downspout Extensions: Move runoff at least 6–10 feet from the structure.
- French Drains: Install around the footing to catch and carry water away from walls.
- Exterior Membranes: Apply on the wall’s outside face for dual protection, especially during new construction or full renovation.
These steps do not replace interior sealing. They complement it.
Polyguard Product Options for Basement Wall Sealing

Polyguard offers a range of materials suited to different basement wall conditions, from interior vapor to direct water contact.
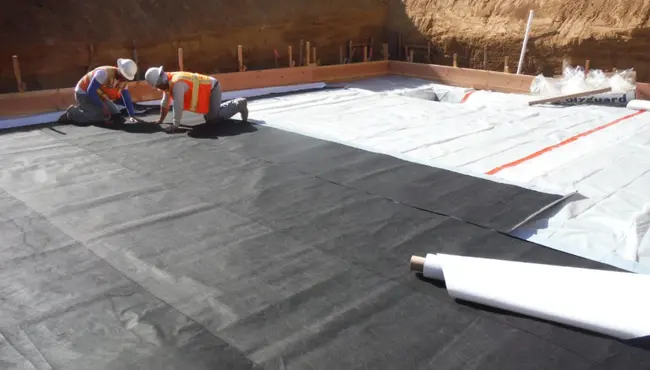
- Polyguard 650 PRM: A spray-applied, single-component waterproofing membrane that forms a seamless elastomeric barrier. Ideal for blindside walls and uneven surfaces with quick curing and no primer required.
- Polyguard LM-85 SSL: A two-part, liquid-applied waterproofing membrane that cures into a flexible rubber film. Ideal for vertical wall detailing, pipe penetrations, and transitions where sheet membranes can't reach.
Each product brings a targeted solution depending on wall condition, substrate type, and project access.
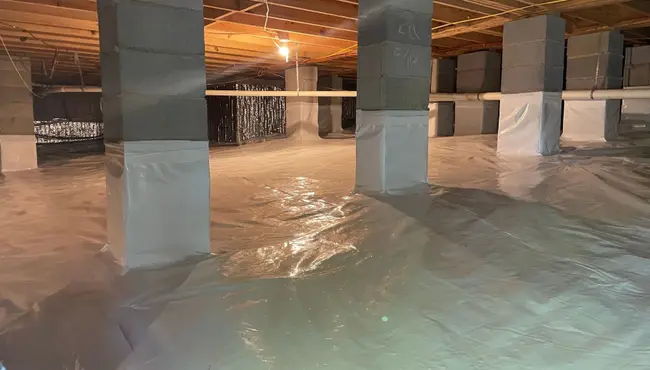
Maintenance Planning and Inspection Guidelines
A basement seal isn't permanent. Over time, even the best-applied barrier can wear down or detach from the wall surface. That’s why routine inspection is critical.
What to Look For and When to Reseal
Check basement walls each spring and fall. Look for visible signs of trouble—such as peeling, discoloration, musty smells, or dampness behind finishes. Catching these early prevents deeper infiltration and avoids the cost of major repairs.
Reapplication of sealant is typically needed every 5–7 years, depending on environmental exposure and previous application thickness. Problem-prone walls may require more frequent treatment.
Estimated Costs:
DIY Interior Sealing: $1.25–$1.75 per square foot
Professional Exterior Sealing: $60–$100 per linear foot
Maintaining a sealed wall system adds longevity to flooring, insulation, and framing materials—while keeping the space healthier and easier to condition.
Health and Safety Benefits Often Go Overlooked
Unsealed or poorly treated concrete encourages vapor intrusion and microbial growth. Spores from hidden mold circulate through HVAC systems. Even in unfinished spaces, sealing basement walls improves the air quality upstairs. It also protects insulation, wiring, and mechanical systems from exposure to persistent moisture.
Material Type and Environment Affect Sealing Performance
Different basement wall types and site conditions change how a sealant performs—and how long it lasts.
Match the Sealer to the Substrate
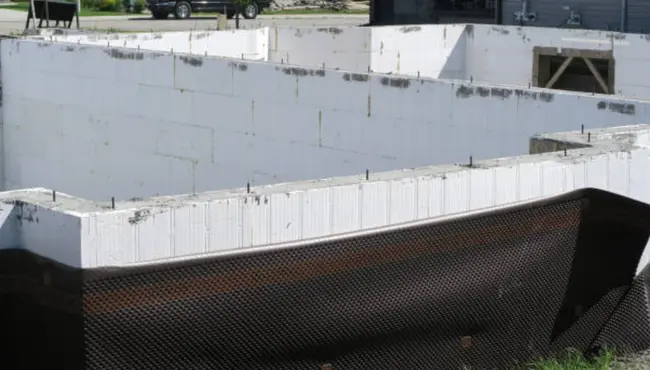
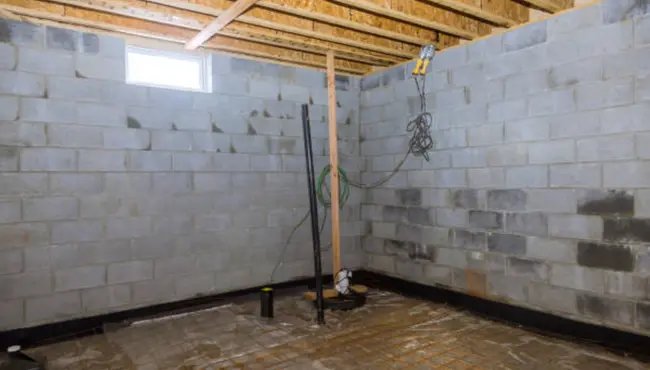
Poured concrete accepts silicate sealers well. Block walls, which have more surface area and internal cavities, often need a heavier barrier like an elastomeric membrane. Stone foundations present unique challenges and may require tuckpointing before sealing.
Think Beyond the Interior
When planning a long-term defense system, combine surface prep with both interior and exterior applications. This holistic approach provides more stability for older foundations and complex moisture patterns.
Build Long-Term Moisture Defense with Polyguard Basement Wall Systems
A successful basement project depends on preparation, application, and product choice. Our advanced sealing membranes provide a high-performance barrier against water seepage, gas penetration, and long-term deterioration. Contact us today for more information.