Aluminum flashing’s long-term performance depends on proper aluminum flashing painting and maintenance. Damaged or compromised aluminum flashing can allow moisture to infiltrate the building envelope, which can lead to structurally damaging and unhealthy mold.

Image Source: Pixabay.com
Painting aluminum flashing will protect it from pollution and salty air that can cause the flashing to pit and oxidize. In addition, you must paint aluminum flashing that is in direct contact with cement-based materials due to cement’s corrosive nature.
In addition, painting aluminum flashing can improve a structure’s aesthetics because reflective aluminum flashings often don’t complement a structure’s exterior design. For example, you can draw attention away from shiny flashing by painting aluminum window flashing or painting flashing on roof aluminum with a low-gloss, matte paint.
How to Paint Aluminum Flashing in 7 Steps
The success of painting aluminum flashing depends on choosing the right paint and following these 7 simple steps:
Materials for Painting Aluminum Exterior Wall and Roof Flashing:
- Roof flashing spray paint
- Ladder
- Rag
- Hard-bristle cleaning brush
- Putty knife or wire brush
- 150-grit sandpaper
- Cardboard, tarp, or newspaper
- Painter’s tape
- Protective gear (gloves, goggles, and a dust mask) to limit exposure to the metal dust particles.
How to Choose the Best Flashing Paint
Moisture, heat, and sunlight will attack flashing, especially roof flashing. Therefore, the paint you select must stand up to these harsh conditions, like a quality acrylic or latex spray paint that offers high heat and U.V. resistance. In addition, paints with matte or satin finishes will help hide dents and scratches often found in lightweight metals, like aluminum.
Step 1: Clean the Roof Flashing
Clean dust, dirt, cobwebs, and other debris from the aluminum flashing using a rag and soapy, warm water. For old, rusty flashing, use a hard-bristle cleaning brush to ensure the complete removal of all grime and dirt. Rinse the area well with clean water.
Step 2: Remove Old Paint and Rust
Using a putty knife or a wire brush, scrape away any peeling, old paint, and rust from the surface of the aluminum flashing. Skip this step when painting new aluminum flashing.
Step 3: Sand the Roof Flashing
Using 150-grit sandpaper, sand the flashing to remove any loose paint and to roughen the surface slightly which will improve the paint bond.
Step 4: Cover or Mask the Surrounding Area
Cover the surrounding space with a piece of cardboard, a painter’s tarp, or some newspaper and painter’s tape to protect it from overspray.
Step 5: Apply Primer
Spray rust-preventive, self-etching primer in thin coats, according to the manufacturer’s direction, to seal. Self-etching primers contain acid that can etch the aluminum, which leads to better adhesion.
After applying the primer, let it dry, then repeat sanding.
Step 6: Painting the Roof Flashing
Vigorously shake the paint can for a few minutes. Hold the can about 10 to 12 inches from the aluminum surface. Then, using side-to-side sweeping motions, apply a thin coat of paint. Let the paint dry, then spray another thin coat. It may take three or more coats to cover the flashing with consistent color.
Let the paint fully cure as directed by the paint manufacturer.
Step 7: Apply Enamel Sealer
After the paint thoroughly dries, apply at least two coats of enamel sealer, allowing the sealer to cure according to the manufacturer’s recommendations. The enamel layer will help protect the painted aluminum from scratching, chipping, or fading.
When to Use Aluminum Flashing
Builders may prefer aluminum flashings for visible flashing or areas that need to hold a shape or serve as a drip edge. Light-gauge aluminum flashing provides a continuous barrier of thin sheet metal that stops water from flowing through a joint or angle and into the building envelope. Soft, flexible aluminum flashing also installs easily and holds its shape. Builders can use aluminum flashing on numerous areas of a building:
- Flashing the roof valleys will stop the water that can accumulate in the low spots and the ice dams in the winter from infiltrating the roof system.
- Flashing around the angles formed by the roof’s eaves, pipes, and chimneys will prevent water intrusion into the roof assembly.
- Wall flashings applied at windows, doors, corners, intersections, and wherever a roof terminates into a wall help prevent moisture (which can collect due to condensation or small gaps in the siding) from infiltrating behind the house wrap.
- Install flashing at the bottom of all exterior walls and adequately integrate the flashing with other water management details, to direct the water down and out of the wall.
Concerns with Aluminum Flashing
You must sufficiently and adequately paint aluminum flashing to protect its integrity and ensure its water tightness. Not adequately painting aluminum flashing can lead to moisture infiltration into the building envelope, which can cause structurally damaging and unhealthy mold. Some situations of particular concern with aluminum flashing include:
- In coastal areas, salty air can cause aluminum to pit and oxidize.
- Polluted urban air can cause aluminum to scale and rust.
- Improper or unpainted aluminum flashing can rust if in contact with building materials like concrete, mortar, and pressure-treated wood.
Polyguard Flashings – An Alternative to Aluminum Flashing
Fortunately, Polyguard offers several easy-to-apply, durable, and high-quality alternatives to aluminum flashing:
- Blue Barrier™ Liquid Flashing 2100
- PolyWall® Blue Barrier Flash’ N Wrap 2400
- Arc Flash™ Tape
Polyguard Arc Flash™ Tape
When properly installed, strong, self-adhered, and waterproof adhesive Polyguard Arc Flash™ tape can tightly seal gaps between the doors, windows, and around vents, chimneys, skylights, and other fixtures of the building’s exterior. Roofers also use flashing tape to secure shingles and seal cracks.
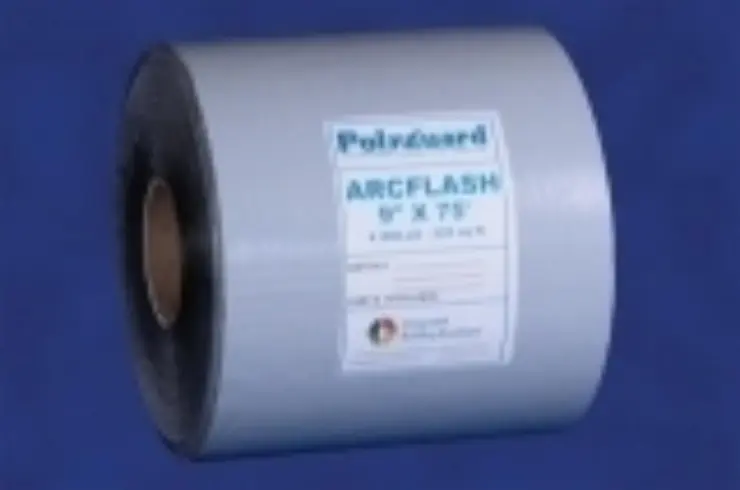
Arc Flash™ self-seals around nails, staples, fasteners, and waterproofs below surfaces. It adheres instantly to dry, clean surfaces. In addition, its elastic properties will stretch and keep its integrity if a structure moves.
Polyguard’s 70-mil, self-adhering Polyguard Arc Flash™ tape provides a rubberized asphalt waterproofing coating, laminated to a stretchable, high-strength, and crimped film backing. Builders can use flexible Arc Flash™ products to strip in or flash straight round-top corners or custom-shaped areas. It comes in 75-foot rolls, 12-inch, 9-inch, and 6-inch wide.
Poly Wall® Liquid Flashing
The design of Poly Wall® Building Solutions liquid flashing products (trowel and roller grade) offers superior liquid flashing for sealing around pipes, doors, windows, and penetrations or fill gaps.
Blue Barrier™ Liquid Flashing 2100 (Trowel Grade)
Blue Barrier™ Liquid Flashing 2100 produces a weather-resistant, fully adhered air barrier system around door and window installations. Poly Wall® developed the Blue Barrier™ Liquid Flashing 2100 by utilizing Silyl Terminated Polyether Technology (STPE), a hybrid product of silicone and polyurethane technologies. Uniting these chemistries creates an environmentally-friendly, permeable liquid flashing, with superb shore hardness and excellent adhesion.
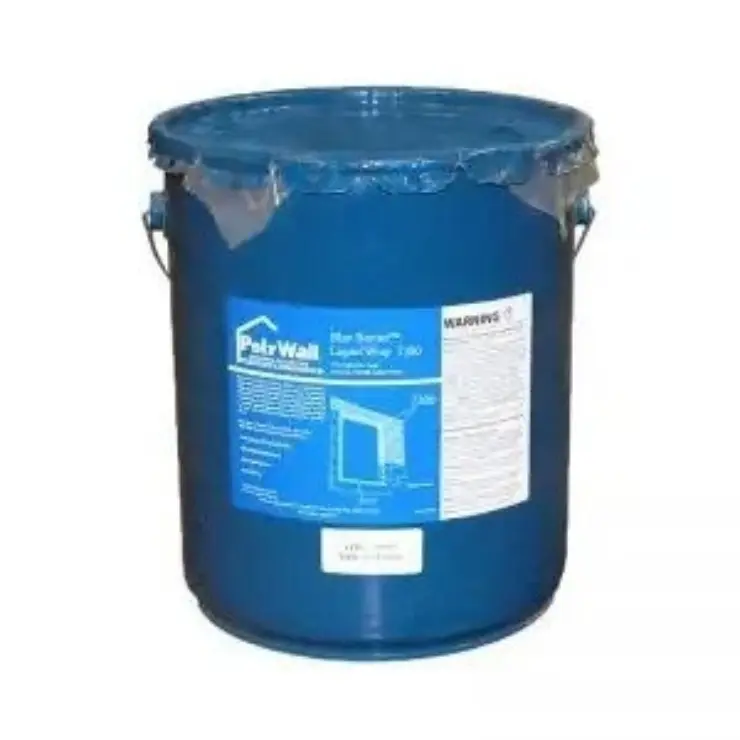
Blue Barrier™ Flash’ N Wrap 2400 (Roller Grade)
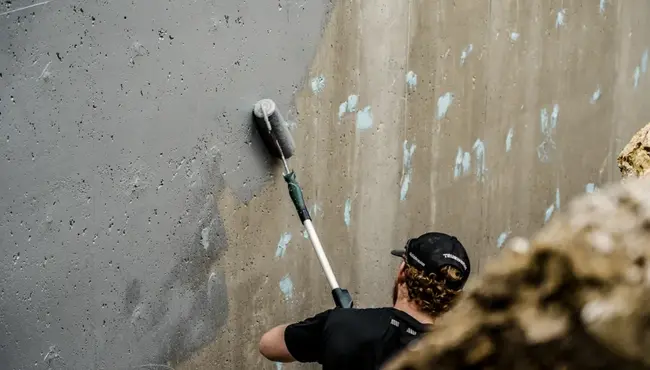
Poly Wall® ‘s Blue Barrier Flash’ N Wrap 2400 applies with a roller and creates a permeable and continuous membrane around windows and doors. In addition, sustainable Blue Barrier Flash’ N Wrap 2400 utilizes STPE technology that permits wet surface applications, does not need priming or mixing, and dries fast.
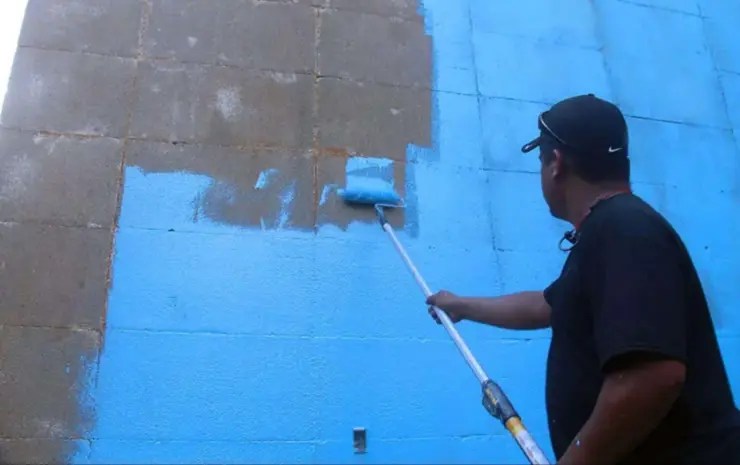
Blue Barrier Flash’ N Wrap 2400 offers:
- High-quality indoor comfort and health
- Durability to protect your home’s integrity
- Strong adhesion and excellent shore hardness
The Importance of Properly Painting Aluminum Flashing
Properly painting aluminum flashing involves preparing the substrate for painting by cleaning, scraping, sanding, and priming. Next, apply several thin layers of paint and allow it to dry. Finally, use an enamel sealer for added protection. Adequate painting of the aluminum flashing will protect it from oxidizing due to pollutes and salty air.
In addition, painting the flashing will defend against the corrosive nature of cement. Damaged or compromised coatings/paintings on aluminum flashing can allow moisture to infiltrate the building envelope which can lead to structurally damaging and unhealthy mold.
Contact one of our Polyguard professionals today for more on painting aluminum flashing. In addition, we can help you with our alternative flashing products to aluminum flashing – Blue Barrier™ Liquid Flashing 2100, Poly Wall®’s Blue Barrier Flash’ N Wrap 2400, and Arc Flash™ Tape.
