Residential Division
Providing a vast offering of high quality waterproofing and air barrier solutions created with the homeowner central to all we do.
Need In-Depth Information On Our Products?
Explore Our ResourcesLatest News & Updates
Explore our articles to learn more about products in application.
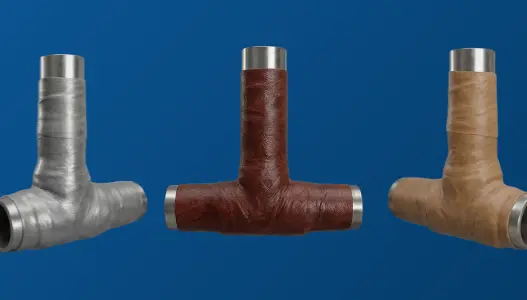

Polyguard Products Unveils New Wax Wrap Integrated System fo...
ENNIS, TX – Polyguard Products, a global leader in protective coatings and moisture barriers, is proud to announce the official launch of the Wax Wrap Integrated System. This high-performance,…
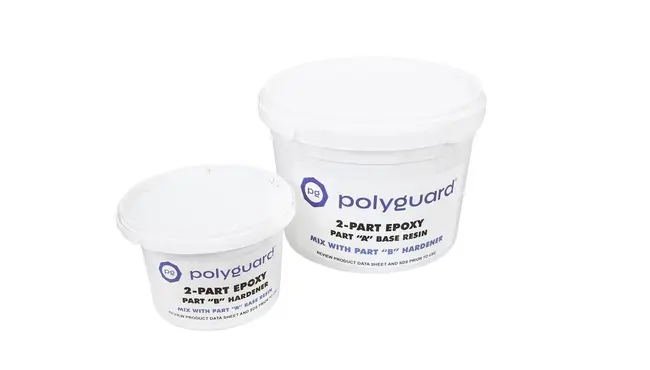
Polyguard Announces Protection Engineering as Exclusive Dist...
Polyguard is excited to announce a new partnership with Protection Engineering, who will now serve as the exclusive distributor of Polyguard’s premier NHT-5600 Epoxy Coating.
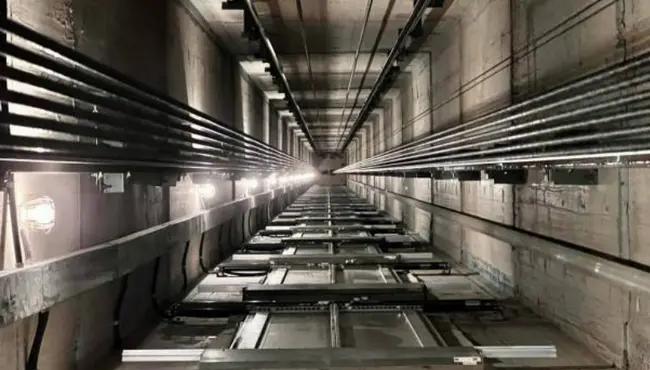

Ultimate Guide to Elevator Pit Waterproofing
Elevator pits are among the most water-vulnerable areas in any structure. Set below grade and surrounded by concrete, they face constant groundwater and pressure exposure. Even small cracks or cold…
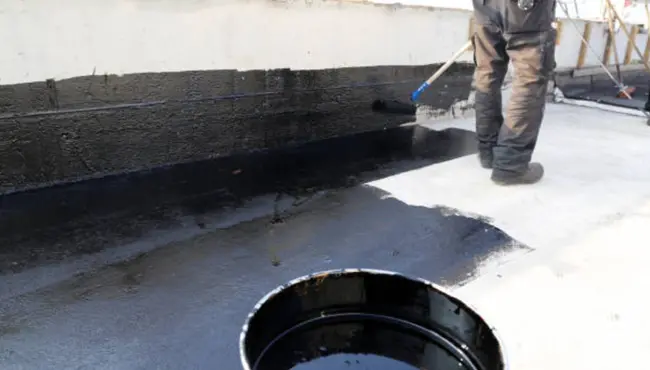
Ultimate Guide to Bituminous Dampproofing: Definition, Speci...
Bituminous dampproofing protects foundations from soil moisture. It is specified where structures need resistance to dampness without the demands of full waterproofing. To understand its proper role…
Cementitious Waterproofing 101 & A Better Alternative
Water is the most persistent threat to concrete and masonry. Cementitious waterproofing remains a common method because it bonds securely and provides reliable coverage in many conditions. Despite…
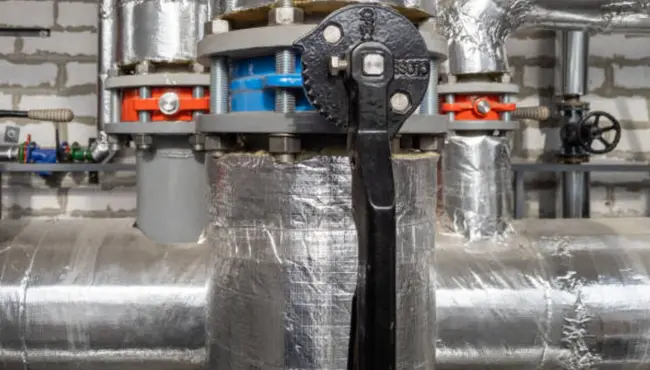
HVAC Line Set Insulation: How to Install and Protect Outdoor...
Line sets are the lifelines of outdoor HVAC systems. Their performance depends heavily on proper insulation, which influences energy performance, reliability, and code compliance. Without HVAC line…
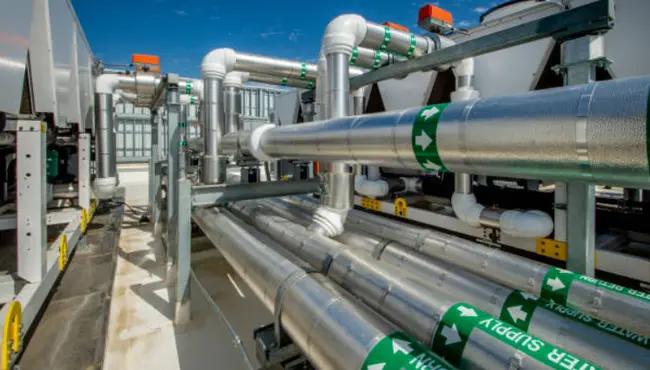
Ultimate Guide to Steam Pipe Insulation Material
Steam systems depend on insulation. One of the most important elements is the choice of steam pipe insulation material. Contractors and facility managers know that the right insulation strategy can…
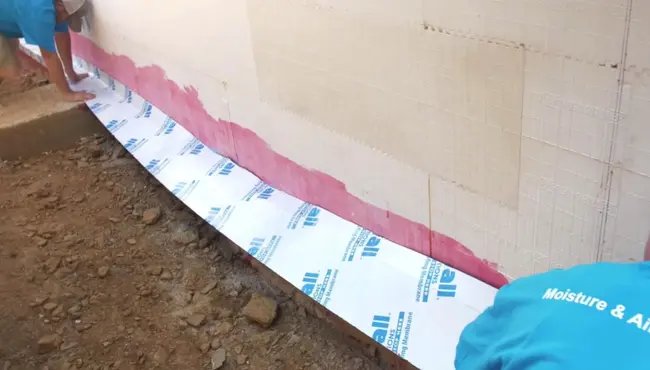
Building Envelope Systems & Design: How to Control Air, Wate...
A building envelope forms the physical and environmental boundary between a structure’s interior and the outside world. In modern construction, building envelope systems manage how air, water, vapor,…
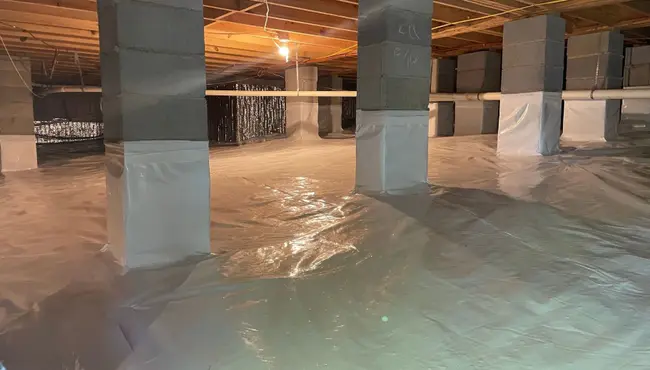
Complete Guide to Crawl Space Vapor Barrier Installation for...
Crawl spaces shape a home’s health. Moisture from soil and humid air migrates upward, damaging materials and degrading indoor air quality. Crawl space vapor barrier installation creates a continuous,…
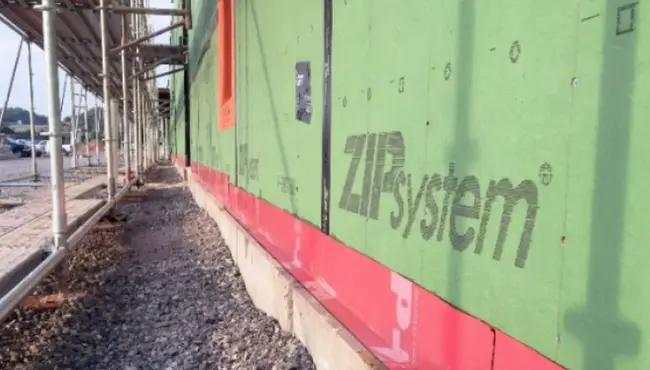
Base Flashing for Siding: How to Protect the Bottom of Exter...
Base flashing for siding is a small detail with a big job. Positioned at the wall’s lowest edge, it blocks moisture intrusion where rain, runoff, and splash-back are most intense. Without this…
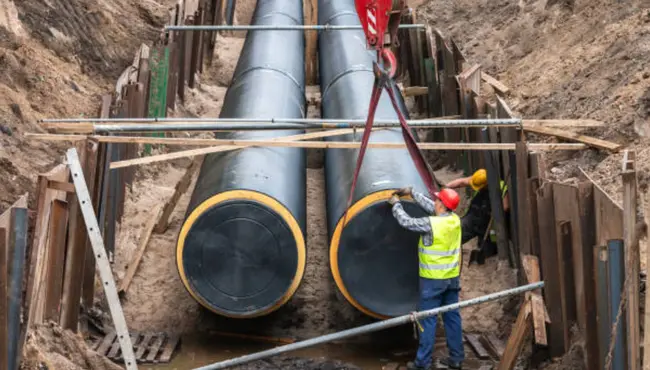
Girth Weld Coating for Long-Term Pipeline Protection
Every pipeline is only as strong as its weakest weld. In high-stakes energy and industrial systems, even a single unprotected joint can become a corrosion hotspot. A girth weld coating restores…
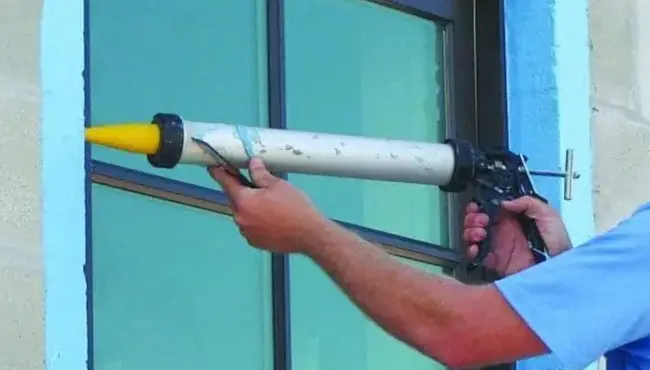
Ultimate Guide to Window Flashing
Water intrusion remains one of the most persistent threats to building durability. Rainwater and ambient moisture can compromise the integrity of wall systems, cause material degradation, and create…