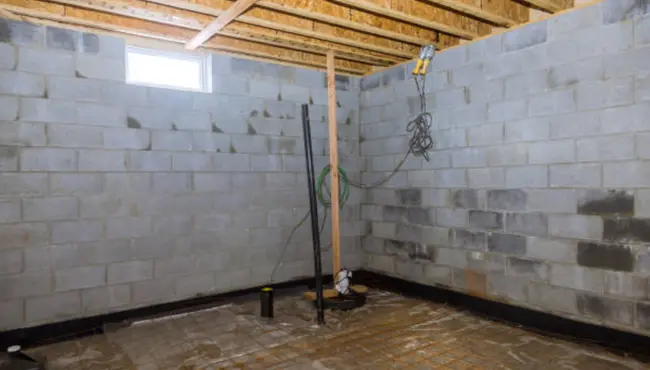
Crawl spaces shape a home’s health. Moisture from soil and humid air migrates upward, damaging materials and degrading indoor air quality. Crawl space vapor barrier installation creates a continuous, code-compliant membrane that blocks ground vapor, protects framing and insulation, and stabilizes the crawl for inspections and long-term performance.
Why Crawl Space Vapor Barriers Matter
Moisture management in a crawl space begins with identifying the conditions that allow vapor to enter and linger.
Moisture Sources in Crawl Spaces
Crawl spaces collect moisture from bare earth evaporation, seasonal humidity, plumbing leaks, and storm runoff that finds its way to low points. When vapor condenses on cool framing or ducts, it can drive mold growth, wood decay, corrosion on metal, and musty odors that ride the stack effect into living areas. A continuous, sealed ground membrane interrupts this diffusion path and helps the space dry toward stable equilibrium, making crawl space vapor barrier installation a cornerstone of long-term moisture control.
Performance Benefits of a Drier Crawl
Reducing crawl-space moisture also lifts building performance. Drier materials insulate closer to their rated values, HVAC equipment spends less energy removing latent loads, and comfort swings drop in hot-humid and mixed-humid climates
Building codes set the baseline for crawl space vapor barrier installation, defining the materials, overlaps, and sealing methods needed for lasting moisture control.
IRC Requirements for Vapor Retarders
Most jurisdictions referencing the International Residential Code (IRC) require that exposed earth in unvented crawl spaces be covered by a continuous Class I vapor retarder, with joints overlapped at least 6 inches and edges turned up the wall at least 6 inches, then attached and sealed. Those overlap and edge-seal details are minimums, not options.
Understanding Vapor Retarder Classes
The IRC defines vapor-retarder classes by permeance: Class I ≤ 0.1 perms, Class II > 0.1 to ≤ 1.0, Class III > 1.0 to ≤ 10. For the ground membrane, aim for Class I to limit upward diffusion. Some local adoptions require ASTM E1745 compliance and, in high-abuse crawls, Class A under that standard for stronger puncture and tensile performance.
Detailing for Mixed Floor Conditions
The vapor barrier code requirements for crawl spaces define overlap dimensions, wall turn-up heights, and minimum permeance ratings to ensure assemblies meet IRC intent. If a thin slab or “rat slab” is present, the same detailing principles apply as when installing a vapor barrier on a concrete floor, including substrate preparation and compatible sealant selection.
Selecting the Right Material (Specs That Hold Up)
Material choice drives both code compliance and long-term performance. The right vapor barrier resists damage, blocks vapor effectively, and integrates with other assemblies in the crawl space.
Key Specs for Code Compliance and Durability
Choosing the membrane is about durability and permeance, not just “plastic on dirt.” Look for ≤ 0.1 perm (Class I) to meet code intent and keep moisture migration low. For thickness, 10–20 mil polyethylene is a common sweet spot for residential use; thin 6-mil tears easily and often leads to callbacks. Where service traffic is expected, or where tools and storage might contact the floor, a heavier composite barrier is worth it.
Polyguard’s Crawl Space Solutions
Polyguard’s crawl-space solution set includes robust membranes designed for puncture resistance and long service life.
For example, Underslab TRM combines an 8.5-mil polyethylene backing with a 69-mil TRM sealant integrated into a non-woven geotextile top layer for a factory-controlled thickness of 95 mils.
That composite build resists job-site abrasion and integrates a tenacious sealant layer that helps maintain continuity as the space is serviced.
Polyguard’s best vapor barrier for a crawl space options are rated for puncture resistance, low permeance, and long-term durability, with performance guidance matched to specific service conditions.
Coordinating with Adjacent Assemblies
Material choice should also respect how adjacent assemblies dry. If you’re insulating foundation walls, select a wall assembly that can dry inward while the ground membrane blocks upward vapor, so moisture isn’t trapped.
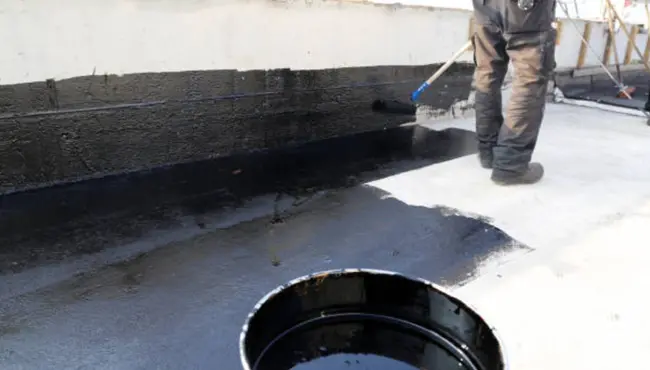
Preparing the Space (Solve Water First, Then Seal)
A barrier won’t fix bulk water.
- Before any membrane goes down, correct exterior drainage and site slope so water sheds away from the foundation, extend downspouts, and redirect sprinklers.
- Inside, remove debris and sharp objects, repair plumbing leaks, and pump or wet-vac standing water.
- Where soil remains damp, a calcium-chloride or RH test can help you decide whether pre-drying time is wise.
Decide on ventilation strategy. If you’re encapsulating or conditioning the crawl, plan supply air or a dedicated dehumidifier per local code, and determine whether to close foundation vents. Crawl space vapor barrier installation works best as part of a coordinated moisture plan, not as a stand-alone patch.
Step-by-Step Crawl Space Vapor Barrier Installation
A high-performance result comes from generous overlaps, continuous attachment, and careful detailing—not just rolling out plastic.
Intro to the sequence: The steps below build from layout to final inspection so you can verify continuity at each stage before covering the work.
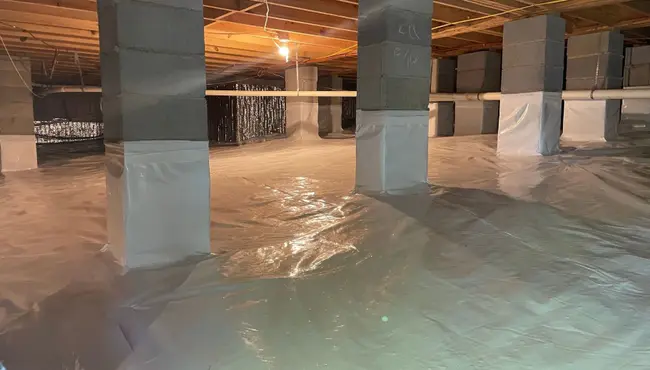
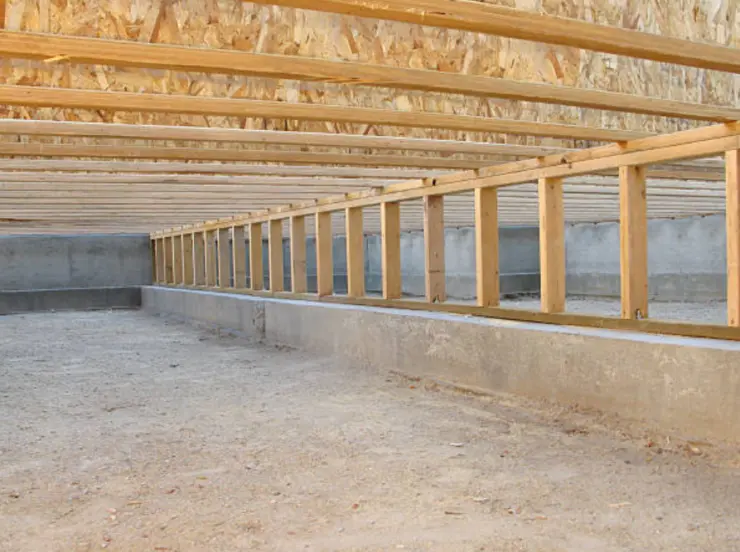
Layout and Overlaps
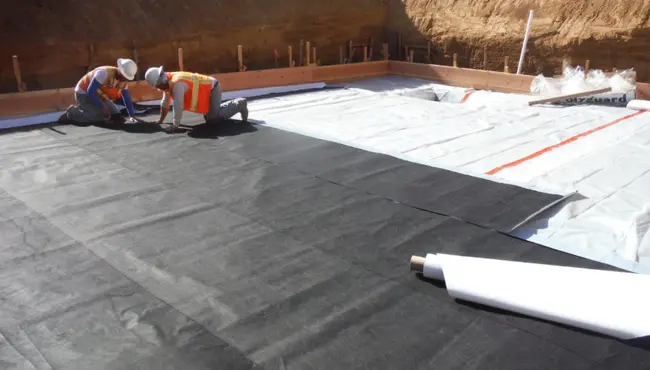
Pre-cut sheets into manageable lengths so you can position them without dragging across sharp surfaces. Roll out the first course along the long dimension of the crawl to minimize seams. Overlap adjacent sheets by at least 6 inches to satisfy code; many pros use 12 inches so coverage remains intact if sheets shift during later work. Seal every seam with a manufacturer-approved tape or mastic, then press with a roller or squeegee to remove air pockets and ensure full contact.
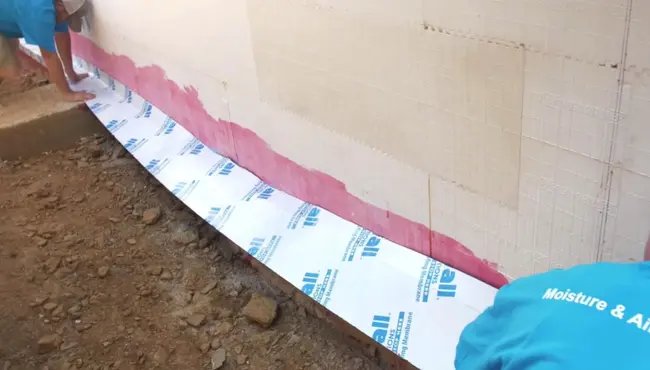
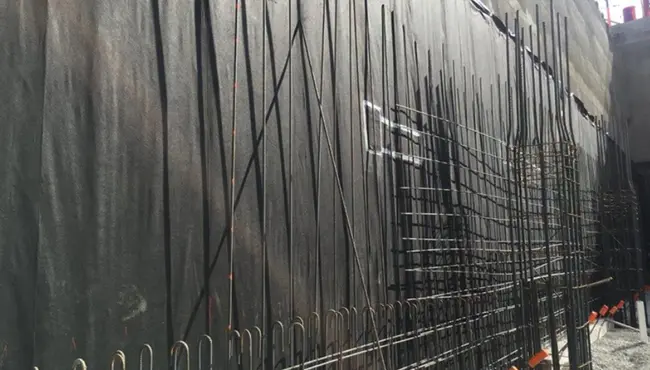
Seal to Walls and Piers
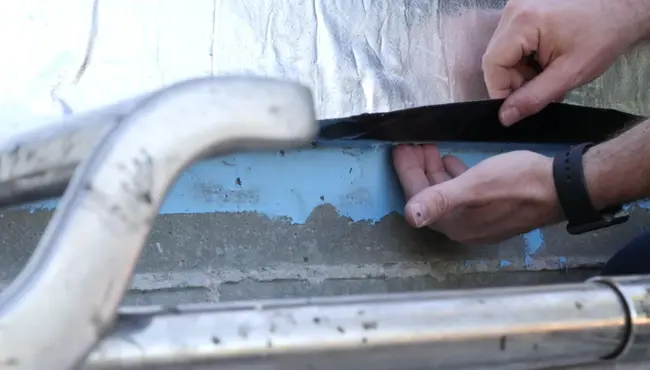
Turn the membrane 6–12 inches up the foundation wall and attach and seal it to the concrete or to rigid foam if present. Use compatible butyl or acrylic tapes and—where the substrate demands it—mechanical fasteners to back up adhesion. Wrap and seal interior piers so moisture cannot wick up into framing. This vertical continuity is critical; skipping it allows vapor to bypass the floor layer altogether.
Detail Penetrations and Obstacles
At plumbing, wiring, posts, and ducts, slit and fit patches closely around the penetration. Use a “target-and-cover” approach: first a tight patch bonded to the membrane, then a larger patch bridging beyond the first. Tape edges continuously and roll them tight. Eliminate “fishmouths” and gaps—any opening is a bypass that undermines the system.
Final Inspection and Documentation
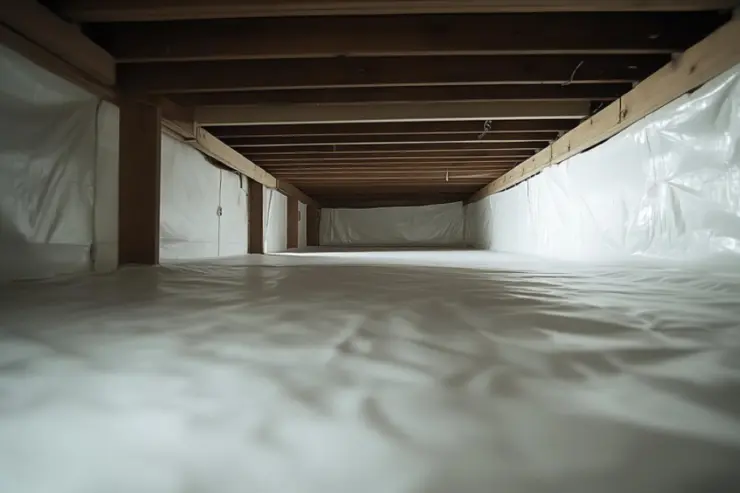
Walk the entire space in a consistent pattern so you don’t miss corners. Reseat lifting edges, add redundant tape at stress points, and patch punctures immediately with compatible material. Photograph seams, wall turn-ups, and pier wraps; those images, plus product data sheets, make inspections smoother and give you a maintenance baseline.
Working over concrete or a mixed substrate? The sequence is similar, but primers and attachment methods change; see installing a vapor barrier on a concrete floor for above-slab surface prep and sealing compatibility.
Encapsulation Add-Ons That Improve Results
A barrier solves the ground-vapor path; pairing it with smart add-ons stabilizes conditions year-round.
- Wall insulation designed for the climate reduces winter condensation risk while allowing inward drying, and a right-sized dehumidifier controls residual humidity after you’ve blocked diffusion from the soil.
- In termite regions, coordinate barrier runs with inspection gaps at the sill if required by local code or pest-control protocols so you maintain visibility without breaking continuity where it matters.
Quality Checks Homeowners and Inspectors Expect
Continuity is non-negotiable: no exposed soil and no unsealed lap edges. Edges must be turned up and attached—tucking under base plates does not meet code intent. Material documentation should show Class I permeance (≤ 0.1 perms) and, where specified, ASTM E1745 class so you can point to the correct durability rating. Keep a simple close-out package: data sheets, photo log of seams and wall attachments, and any dehumidifier specs if encapsulated.
Maintenance: Keep It Tight Over Time
Plan a crawl-check annually and after storms or plumbing work to confirm your crawl space vapor barrier installation remains intact. Look for loose seams, detached wall seals, or punctures from service traffic; patch with compatible material and re-roll tapes for full adhesion. If you use a dehumidifier, confirm RH is in your target range so materials stay dry and odors stay down. Small corrections early prevent bigger issues later.
Mixed Substrates (Soil + Slab)
Treat the crawl as a single system even when the floor changes. Lap the slab-side membrane to the soil-side membrane with a wide, fully taped seam, then continue the 6–12-inch wall turn-up uninterrupted around the perimeter. Where concrete is present, confirm tape/primer compatibility and pressurize the bond with a roller.
Protect Your Home with Polyguard Crawl Space Solutions
Polyguard membranes are engineered for crawl space vapor barrier installation that meets code and holds up to job-site abuse. Our solutions pair very low permeance with robust puncture and tensile strength for fewer callbacks and long service life. Contact us today for more information.